
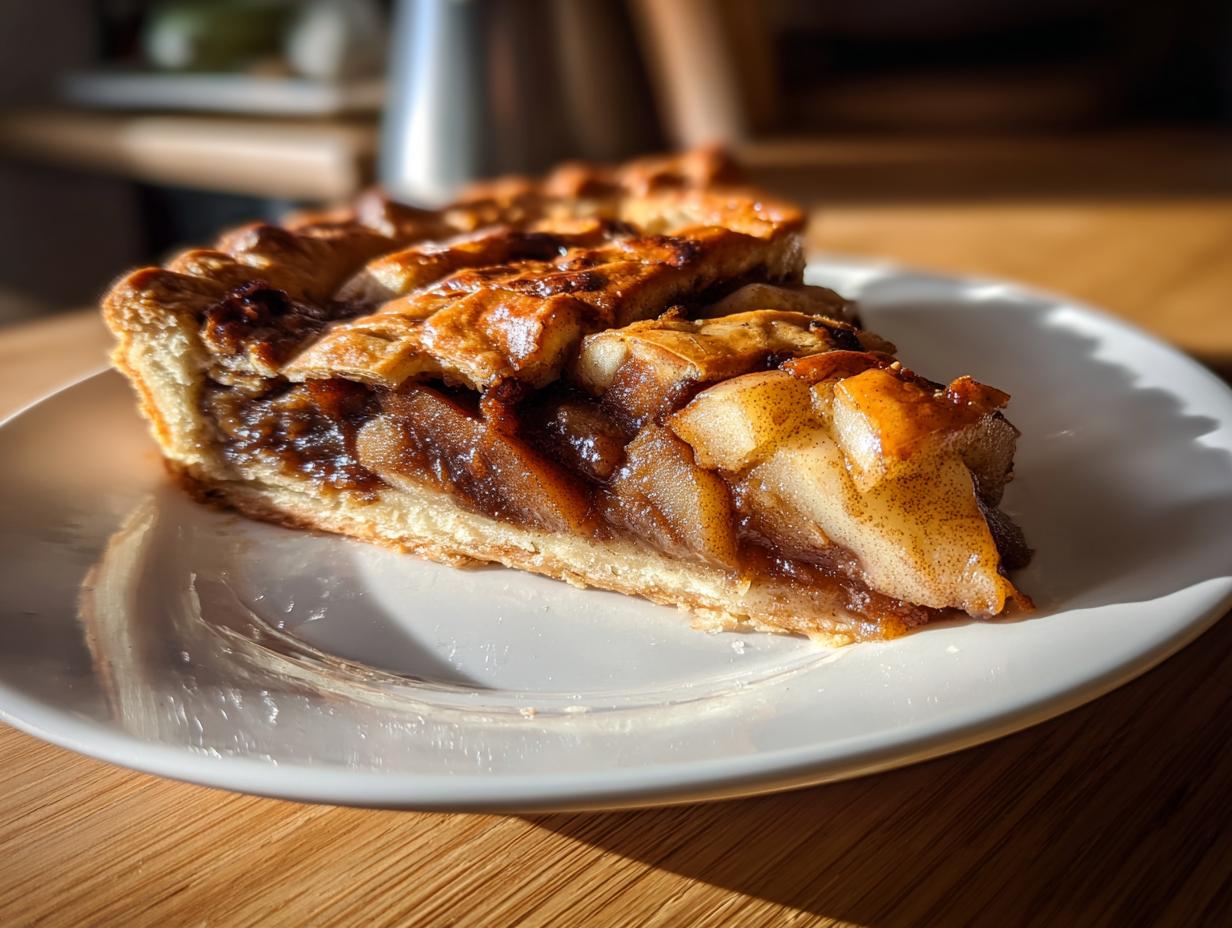
There’s something magical about baking during the winter months—the way the kitchen fills with warmth and the most comforting aromas. My Winter Spiced Chocolate Pear Tart has been a holiday favorite in our family for years, ever since I first experimented with pairing juicy pears and rich chocolate on a chilly December evening. After decades of baking, I can tell you this tart hits all the right notes: the sweetness of ripe pears, the depth of dark chocolate, and that cozy blend of cinnamon, nutmeg, and cloves that just screams winter comfort. What started as a happy accident has become our must-have dessert whenever the temperature drops.
Why You’ll Love This Winter Spiced Chocolate Pear Tart
Oh, where do I even start? This tart is pure winter magic in every bite! Here’s why it’s become my go-to dessert when the snow starts falling:
- Rich, cozy flavors: That spiced chocolate and pear combo? It’s like wearing your favorite sweater—but for your taste buds.
- Easier than pie: Seriously, the crust comes together in minutes. Even my niece can make it (and she once confused salt for sugar).
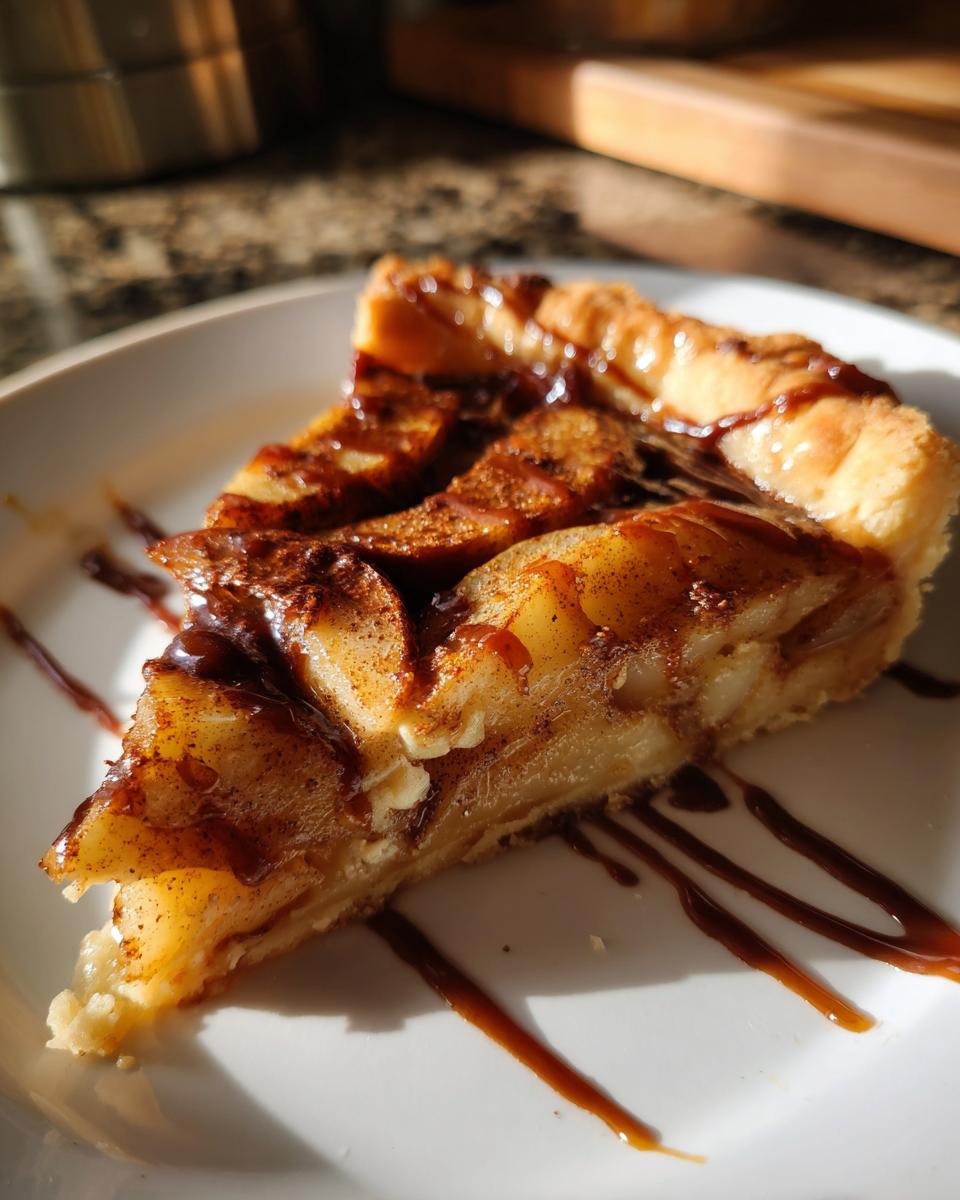
- Holiday showstopper: The golden crust with those caramelized pears peeking through? Guests always think you slaved for hours.
- Seasonal simplicity: Pears and spices are winter’s gift to bakers—no fancy ingredients needed.
Trust me, one slice and you’ll be hooked. My neighbor still texts me every December begging for the recipe!
Ingredients for Winter Spiced Chocolate Pear Tart
Gathering the right ingredients makes all the difference here! I’ve learned over the years that quality matters—especially with simple recipes where each component shines. Here’s what you’ll need for that perfect balance of spiced warmth and chocolatey richness:
- Cold, cubed butter: ½ cup unsalted (trust me, cold is key for that flaky crust!)
- Fresh pears: 3 ripe ones, peeled and sliced (I like Bosc—they hold their shape beautifully)
- Spice trio: 1 tsp cinnamon, ½ tsp nutmeg, ¼ tsp cloves (the holy trinity of winter baking!)
- Pantry staples: 2 cups flour, ¼ cup sugar, 1 egg yolk, 2 tbsp ice water, 1 tbsp lemon juice
Dark chocolate: ½ cup roughly chopped (go for 70% cocoa—it balances the pears’ sweetness)
Pro tip: Measure everything before starting. When the butter’s cold, you’ll want to work fast!
How to Make Winter Spiced Chocolate Pear Tart
Alright, let’s dive into the fun part! Making this tart is easier than you think—I promise. Just follow these steps, and you’ll have a showstopper dessert that smells like winter magic. The secret? Taking your time with each layer. Here’s how we’ll build that perfect balance of crisp crust, tender pears, and melty chocolate.
Preparing the Tart Crust
First things first—that buttery crust! Grab your biggest bowl and toss in the flour and sugar. Now, here’s my favorite part: working in the cold butter with your fingers until it looks like coarse sand. Don’t overmix—those pea-sized butter bits are what make the crust flaky. Add the egg yolk and ice water, then gently knead just until it comes together. Wrap it in plastic and chill for 15 minutes (yes, really—this stops shrinkage!). Roll it out on a floured surface until it’s about 1/4-inch thick, then press it gently into your tart pan. Trim the edges with a knife—those scraps make great cinnamon-sugar cookies!
Baking and Assembling the Tart
Preheat that oven to 350°F while the crust chills. When ready, prick the crust all over with a fork, line it with parchment, and fill with pie weights or dried beans. Blind bake for 10 minutes, then remove the weights and bake 5 more minutes until it’s lightly golden. Meanwhile, toss your pear slices with lemon juice and spices—this keeps them from browning and coats them in that warm winter flavor. Arrange the pears in concentric circles (or go rustic—I won’t judge!), sprinkle the chocolate chunks in between, and bake another 25-30 minutes until the pears are tender and the crust is deep golden brown. Your kitchen will smell incredible!
Tips for the Perfect Winter Spiced Chocolate Pear Tart
After making this tart more times than I can count, I’ve picked up some tricks that make all the difference between “good” and “oh-my-goodness-where-have-you-been-all-my-life” delicious:
- Pear perfection: Use firm pears like Bosc or Anjou—they won’t turn mushy during baking. If they yield slightly at the stem, they’re just right!
- Chill out: That 15-minute dough rest isn’t optional! It prevents the crust from shrinking and gives you those crisp, buttery layers.
- Chocolate chunks > chips: Chopped chocolate melts into gorgeous pools between the pears, while chips stay stubbornly intact. Learned this the hard way!
- Serve it fancy: A dollop of whipped cream or vanilla ice cream takes it over the top—the cold creaminess against the warm spiced pears? Absolute magic.
Watch for juices bubbling too vigorously—that means your oven’s too hot and the pears might burn. Just lower the temp by 25°F if needed!
Ingredient Substitutions and Notes
Life happens, and sometimes you need to tweak things—I get it! Here are my tried-and-true swaps that still keep the spirit of this tart:
- Gluten-free? Swap the flour 1:1 with almond flour (your crust will be extra rich!) or a gluten-free blend.
- Chocolate choices: Dark chocolate gives depth, but milk chocolate works if you prefer sweeter. White chocolate? Go wild—it’s delicious with the spices!
- Spice flexibility: Out of cloves? Just double the cinnamon. Add a pinch of cardamom if you’re feeling fancy.
- Butter emergency: Coconut oil works in a pinch, but chill it first—and expect a slightly different texture.
Remember: baking’s an adventure. The best recipes bend without breaking!
Serving and Storing Your Winter Spiced Chocolate Pear Tart
Oh, the joy of serving this tart! I always let it cool just enough so the chocolate sets slightly—about 15 minutes—but serve it warm. That’s when the spices really sing! A scoop of vanilla ice cream melting over the top? Pure heaven. Leftovers (if you have any!) keep beautifully in the fridge for up to 3 days—just warm slices gently in the oven to revive that fresh-baked magic. Pro tip: The crust stays crispest stored uncovered—I learned that after one too many soggy-bottomed tarts!
Nutritional Information for Winter Spiced Chocolate Pear Tart
Let’s be real—this is dessert, not health food! But for those curious, each slice (about 1/8 of the tart) packs roughly 320 calories, with 15g fat, 45g carbs (4g fiber), and 4g protein. These are estimates—your exact numbers will vary based on pear size and chocolate type. I always say life’s too short to skip the whipped cream on top!
Frequently Asked Questions
Can I use canned pears instead of fresh?
Oh honey, I’ve tried—and fresh is definitely best here! Canned pears get too mushy during baking. If you’re in a pinch, drain them VERY well and pat dry, but expect a softer texture. Honestly? Wait for fresh pears—it’s worth it!
How do I prevent a soggy crust?
Two words: blind bake! Those 15 minutes with pie weights are your crust’s best friend. Also, toss your pear slices in that lemon juice—it helps control moisture. And never skip chilling the dough—cold butter equals flaky layers!
What’s the best chocolate to use?
I swear by 70% dark chocolate—it balances the pears’ sweetness perfectly. But my aunt Sue makes it with milk chocolate when the kids are over, and they devour it. Just avoid chocolate chips—they don’t melt as nicely as chopped bars!
Can I make this ahead?
Absolutely! Bake it the day before and leave it at room temp (uncovered keeps the crust crisp). Warm slices for 5 minutes at 300°F before serving. The spices actually deepen overnight—bonus!

Irresistible Winter Spiced Chocolate Pear Tart in 3 Steps
- Total Time: 50 minutes
- Yield: 8 servings 1x
- Diet: Vegetarian
Description
A rich and aromatic tart combining the sweetness of pears with spiced chocolate for a perfect winter dessert.
Ingredients
- 2 cups all-purpose flour
- 1/2 cup unsalted butter, cold and cubed
- 1/4 cup granulated sugar
- 1 egg yolk
- 2 tbsp ice water
- 3 ripe pears, peeled and sliced
- 1/2 cup dark chocolate, chopped
- 1 tsp ground cinnamon
- 1/2 tsp ground nutmeg
- 1/4 tsp ground cloves
- 1 tbsp lemon juice
Instructions
- Preheat oven to 350°F (175°C).
- Mix flour, butter, and sugar until crumbly. Add egg yolk and ice water to form dough.
- Roll out the dough and press into a tart pan. Chill for 15 minutes.
- Blind bake the crust for 10 minutes. Remove weights and bake 5 more minutes.
- Toss pear slices with lemon juice, cinnamon, nutmeg, and cloves.
- Arrange pears over the crust. Sprinkle chocolate pieces on top.
- Bake for 25-30 minutes until golden. Cool before serving.
Notes
- Use firm pears for best texture.
- Chill dough to prevent shrinking.
- Serve with whipped cream or ice cream.
- Prep Time: 20 minutes
- Cook Time: 30 minutes
- Category: Dessert
- Method: Baking
- Cuisine: French
Nutrition
- Serving Size: 1 slice
- Calories: 320
- Sugar: 18g
- Sodium: 10mg
- Fat: 15g
- Saturated Fat: 9g
- Unsaturated Fat: 5g
- Trans Fat: 0g
- Carbohydrates: 45g
- Fiber: 4g
- Protein: 4g
- Cholesterol: 50mg


