
I’ll never forget the first time I tried chocolate-covered potato chips at a friend’s party—that perfect crunch of saltiness wrapped in sweet chocolate was absolute magic! Now, these shareable chocolate-covered potato chips are my go-to when I need a quick, impressive treat. They’re ridiculously easy to make (seriously, 15 minutes tops), but people always act like you slaved away for hours. What I love most is how customizable they are—sprinkle them with sea salt for grown-up elegance or rainbow jimmies for birthday fun. Trust me, once you make a batch, you’ll understand why I always double the recipe. Nobody can stop at just one!
Why You’ll Love These Shareable Chocolate Covered Potato Chips
These sweet-and-salty bites are my ultimate crowd-pleaser—here’s why they’ll steal your heart (and your snack table):
- Speed demon: From pantry to party plate in 15 minutes flat. Melt, dip, done!
- No-bake bliss: Zero oven time means no sweating over a hot stove—perfect for summer gatherings.
- Party MVP: I’ve lost count of how many times guests have begged me for this recipe. They disappear faster than you can say “seconds, please!”
- Customizable magic: Dress them up with flaky sea salt for date night or go wild with crushed pretzels for game day. My niece loves them with rainbow sprinkles!
- Kid (and adult) approved: The combo of crispy chips and silky chocolate makes everyone act like it’s their birthday. Even my “I don’t do sweets” uncle sneaks extras.
Seriously, if there was a snack hall of fame, these would be first-ballot inductees!
Ingredients for Shareable Chocolate Covered Potato Chips
Grab these simple ingredients—I promise you probably have most in your pantry right now! The beauty of this recipe is how few things you need to create something spectacular:
- 2 cups potato chips (ridged hold chocolate better, but plain work in a pinch—just don’t use those super thin ones!)
- 1 cup semi-sweet chocolate chips (my personal fave for balance, but see variations later if you want to mix it up)
- 1 tsp coconut oil (optional, but it gives the chocolate that dreamy drippiness—I use refined so there’s no coconut taste)
- Sea salt or sprinkles (optional, but oh-so-pretty! I keep Maldon salt flakes just for this recipe)
Pro tip: Measure your chips by gently filling the cup—no crushing! You want those beautiful whole chips for dipping. And if your chocolate chips are older than 6 months? Toss ‘em and grab fresh ones. Stale chocolate won’t melt smoothly, and we want that glossy perfection!
Equipment You’ll Need
You won’t need fancy gadgets for these—just raid your kitchen for these basics:
- Baking sheet (any size works, but I use a half-sheet pan—plenty of space for arranging chips)
- Parchment paper (trust me, skip the wax paper—I learned the sticky way!)
- Microwave-safe bowl (I grab my trusty glass Pyrex—plastic can hold odors and ceramic gets too hot)
That’s it! No mixer, no thermometer, just simple tools for maximum snack happiness.
How to Make Shareable Chocolate Covered Potato Chips
Alright, let’s get to the fun part! I’ve made these dozens of times, and I’ve learned a few tricks to get that perfect chocolate-to-chip ratio every time. Follow these steps, and you’ll be snacking in no time.
Step 1: Prepare the Baking Sheet
First things first – grab that baking sheet and line it with parchment paper. I learned the hard way that skipping this step leads to chips sticking like glue! Make sure the paper lays flat – any wrinkles will show up on your finished chips.
Step 2: Melt the Chocolate
Here’s where patience pays off. Dump your chocolate chips and coconut oil (if using) into that microwave-safe bowl. Microwave in 30-second bursts, stirring well after each zap. Trust me, rushing this will give you burnt chocolate – and nobody wants that! Stop when it’s smooth with just a few lumps remaining – the residual heat will melt those last bits as you stir.
Step 3: Coat the Potato Chips
Now the fun part! Hold each chip by one end and dip it halfway into the chocolate. Give it a gentle shake to let the excess drip back into the bowl – too much chocolate makes them messy to eat. Lay them on your prepared sheet, leaving a little space between each one. Pro tip: work in batches of 5-6 chips so the chocolate doesn’t start setting before you’re done!
Step 4: Add Toppings
This is your chance to get creative! If you’re adding sea salt or sprinkles, do it immediately after placing each chip on the sheet – the chocolate sets fast. For salt, I like to pinch a couple flakes between my fingers and sprinkle from high up for even distribution.
Step 5: Let the Chocolate Set
Now comes the hardest part – waiting! You can leave them at room temperature for about 20 minutes, but if you’re impatient like me, pop them in the fridge for 10 minutes. The chocolate will set with a satisfying snap when you bite into them. Just don’t stack them until they’re fully set, or you’ll have chocolate smudges everywhere!
Tips for Perfect Shareable Chocolate Covered Potato Chips
After countless batches (and a few hilarious fails), here are my golden rules for snack perfection:
- Thick-cut chips are MVP: Those delicate wispy chips? They’ll snap mid-dip! Go for sturdy ridged or kettle-style—they hold up beautifully.
- Space is your friend: Crowd the baking sheet, and you’ll end up with chocolate bridges between chips. Give them breathing room!
- Dry chips only: Any moisture makes chocolate seize up. If your bag’s been open awhile, pop chips in the oven at 200°F for 5 minutes to crisp them.
- Work fast but don’t rush: Chocolate starts setting quickly—I do 6 chips at a time max. But rushing leads to messy drips (ask me how I know!).
Follow these, and you’ll be the snack hero at every gathering!
Variations for Shareable Chocolate Covered Potato Chips
Oh, the possibilities! Once you’ve mastered the basic version, try these fun twists that always impress:
- Chocolate switcheroo: Dark chocolate gives grown-up sophistication, while white chocolate makes them look like snow-dusted chips (perfect for holiday parties!)
- Crunchy toppings: My favorites? Crushed pretzels for extra salt, toasted coconut flakes for tropical vibes, or even crushed freeze-dried strawberries for a fruity punch.
- Drizzle magic: After the first chocolate sets, melt contrasting chocolate and zigzag it over the top with a fork—instant bakery-worthy look!
Honestly, I’ve never met a variation I didn’t like. Last week I used chili-spiced chocolate—total game changer!
Storing and Serving Shareable Chocolate Covered Potato Chips
Here’s the scoop on keeping these treats at their best! Store them in an airtight container at room temperature with parchment between layers—they’ll stay crisp for up to 3 days (though let’s be real, they never last that long in my house!). For serving, I love piling them in a casual mound on a wooden board for parties or arranging them in mini cupcake liners for a cute individual touch. Pro tip: They’re extra amazing slightly chilled—I sometimes pop the container in the fridge for 10 minutes before serving for that perfect chocolate snap!
Nutritional Information
Just so you know what you’re snacking on (not that it’ll stop you from eating the whole batch!):
- Per 1/4 cup serving: About 150 calories
- Fat: 9g (4g saturated)
- Carbs: 15g (1g fiber, 8g sugar)
Remember, these are estimates—actual values depend on your specific ingredients. But hey, potato chips have vitamin C, right? That counts!
Frequently Asked Questions
Can I use milk chocolate instead of semi-sweet?
Absolutely! Milk chocolate makes them extra sweet and kid-friendly—just watch the melting closely since it burns easier. My trick? Lower the microwave power to 50% and stir constantly. White chocolate works too, but add an extra 1/2 tsp coconut oil since it’s thicker.
How long do chocolate covered potato chips last?
Honestly, they rarely stick around long enough to go stale! But stored properly (airtight container at room temp), they’ll stay crisp for 2-3 days. Don’t refrigerate long-term—the chips can get soggy from condensation. If you must make them ahead, freeze for up to 2 weeks in a single layer, then thaw at room temp.
Why did my chocolate get grainy?
Oh no! This usually means moisture got in—maybe from steamy hands or damp chips. Next time, make sure everything’s bone dry, and don’t let any steam escape when microwaving the chocolate. If it happens, add a splash more coconut oil and stir like crazy to smooth it out.
Can I make these with homemade potato chips?
Adventurous—I like it! Just make sure they’re completely cooled and very crisp. Thicker homemade chips actually hold up better than store-bought. Bonus: sprinkle them with flavored salts before dipping for a gourmet touch!
Rate This Recipe
Did you make these addictive little bites? I’d love to hear how they turned out! Drop a comment below telling me your favorite variation or any brilliant twists you came up with. Did you go classic with sea salt or wild with crushed candy canes? Snap a pic of your snack masterpiece and tag me—I live for seeing your chocolate-dipped creations! And if this recipe saved your last-minute party (like it’s saved mine so many times), give it a 5-star rating to help other snack lovers find it. Happy dipping, friends!
Print
Irresistible Shareable Chocolate Covered Potato Chips in 15 Minutes
- Total Time: 15 mins
- Yield: 2 cups 1x
- Diet: Vegetarian
Description
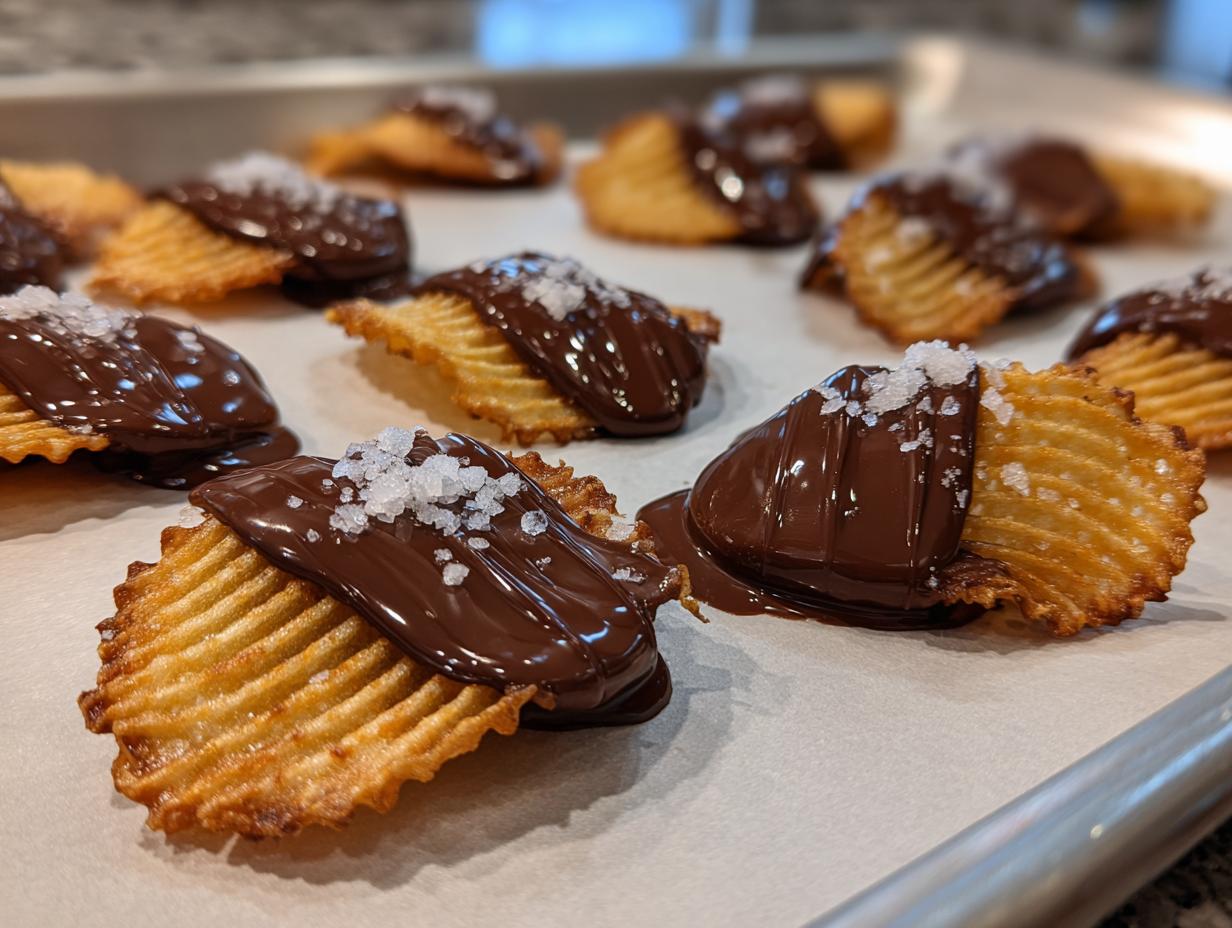
A sweet and salty snack perfect for sharing. Chocolate-covered potato chips combine crispy chips with rich chocolate for a delicious treat.
Ingredients
- 2 cups potato chips (ridged or plain)
- 1 cup semi-sweet chocolate chips
- 1 tsp coconut oil (optional, for smoother texture)
- Sea salt or sprinkles (optional, for topping)
Instructions
- Line a baking sheet with parchment paper.
- Melt chocolate chips and coconut oil in a microwave-safe bowl in 30-second intervals, stirring until smooth.
- Dip each potato chip halfway into the melted chocolate, letting excess drip off.
- Place coated chips on the parchment paper.
- Sprinkle with sea salt or toppings if desired.
- Let chocolate set at room temperature or refrigerate for 10 minutes.
Notes
- Use thick-cut chips for better texture.
- Store in an airtight container at room temperature for up to 3 days.
- For variety, try dark or white chocolate.
- Prep Time: 10 mins
- Cook Time: 5 mins
- Category: Snack
- Method: No-Bake
- Cuisine: American
Nutrition
- Serving Size: 1/4 cup
- Calories: 150
- Sugar: 8g
- Sodium: 80mg
- Fat: 9g
- Saturated Fat: 4g
- Unsaturated Fat: 3g
- Trans Fat: 0g
- Carbohydrates: 15g
- Fiber: 1g
- Protein: 2g
- Cholesterol: 0mg


