
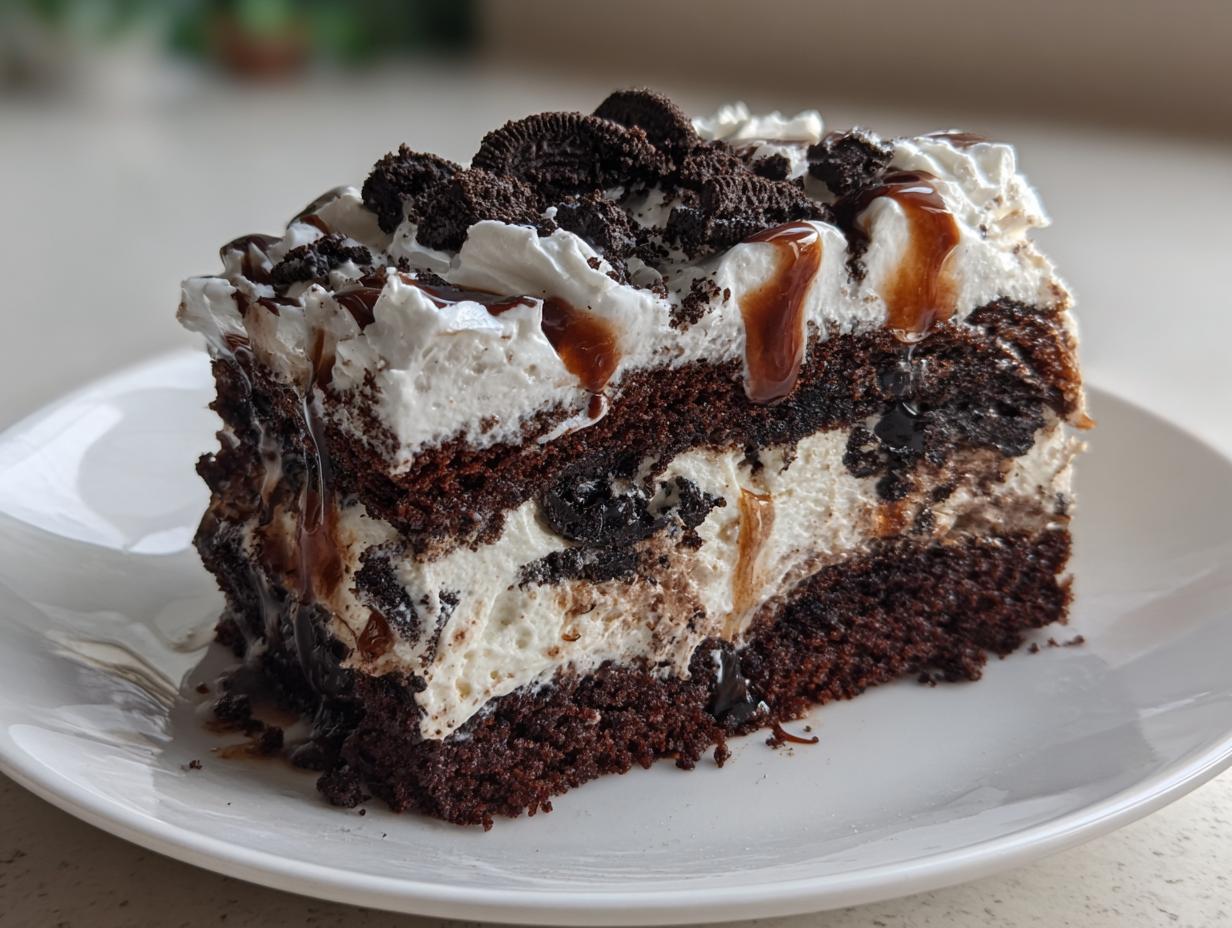
You know that feeling when you take a bite of something and suddenly you’re 10 years old again? That’s exactly what happens with this Nostalgic Fudge Ripple Ice Cream Cake. I first made this for my nephew’s birthday party last summer – one bite and suddenly everyone was talking about their favorite childhood ice cream memories!
What makes this dessert so special is how ridiculously easy it is to throw together while tasting like you spent hours in the kitchen. The magic happens when rich chocolate cake meets creamy vanilla ice cream and that swoon-worthy fudge ripple sauce. It’s the kind of dessert that disappears fast at potlucks and family gatherings. My secret? Using slightly softened ice cream so it spreads like a dream, and room temperature fudge sauce that swirls perfectly through every slice.
Why You’ll Love This Nostalgic Fudge Ripple Ice Cream Cake
Let me tell you why this dessert has become my go-to for every summer gathering and birthday party:
- Effortless magic: With just five simple ingredients and no fancy techniques, you’ll look like a dessert wizard
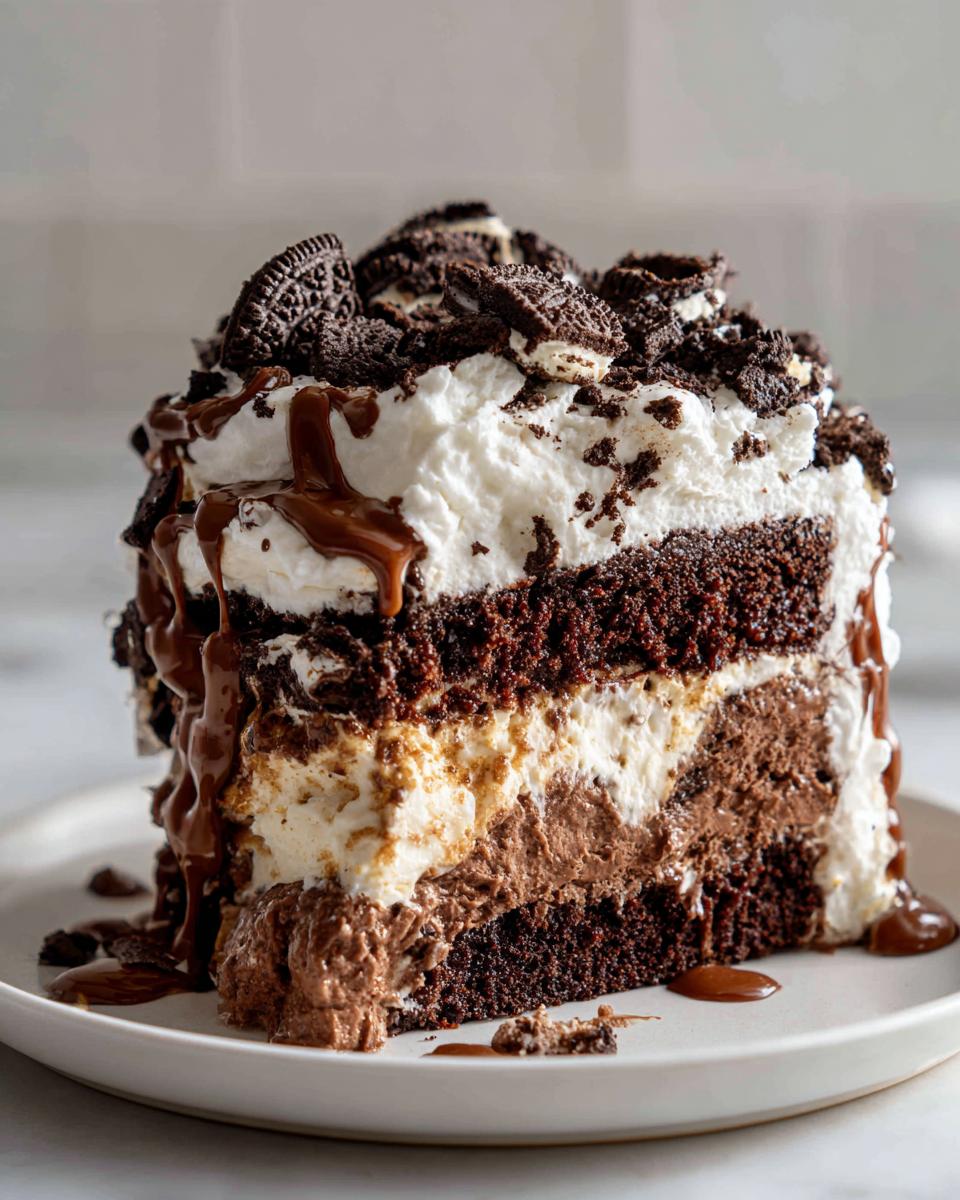
- That perfect texture: The combo of fluffy cake, creamy ice cream, and gooey fudge ripple creates bites you’ll dream about
- Crowd-pleaser guarantee: Kids go wild for it, adults get nostalgic – it’s the ultimate win-win dessert
- Make-ahead lifesaver: Pop it in the freezer and forget about it until party time (no last-minute stress!)
- Customizable canvas: Swap the toppings or ice cream flavors to make it your own signature dessert
Trust me, once you try this, you’ll understand why my friends now request it for every occasion!
Ingredients for Nostalgic Fudge Ripple Ice Cream Cake
Gathering your ingredients is the first step to creating this dreamy dessert! Here’s what you’ll need:
- 1 box (about 15.25 oz) chocolate cake mix – I always grab the “extra moist” kind because nobody likes a dry cake layer
- 1 quart (4 cups) vanilla ice cream, slightly softened – Pro tip: leave it out for just 10 minutes before spreading
- 1 cup fudge ripple sauce, room temperature – Warming it slightly makes those perfect swirls so much easier
- 1 cup whipped topping – The light, fluffy contrast plays so nicely with the rich fudge
- 1/2 cup finely crushed chocolate cookies – I use sandwich cookies, but any chocolate cookie will add that perfect crunch
See? Nothing fancy here – just pantry staples that come together into something magical. Now go check your freezer and pantry, I’ll wait right here while you gather everything!
Equipment Needed
Don’t worry – you won’t need any fancy gadgets for this nostalgic treat! Here’s what I grab from my kitchen to make our ice cream cake magic happen:
- 9×13 inch baking pan – My trusty old metal one has seen dozens of these cakes (but glass works great too!)
- Mixing bowls – Just a couple of medium ones for the cake batter and any toppings
- Rubber spatula – Perfect for scraping every last bit of that delicious batter into the pan
- Measuring cups – For all those perfectly portioned ingredients
- Cooling rack – That cake layer needs to cool completely before the ice cream goes on
- Ice cream scoop – Makes spreading the softened ice cream a breeze
- Spoon or squeeze bottle – For creating those gorgeous fudge ripple swirls
See? Nothing special required – just the basic tools you probably already have in your kitchen. Now let’s get to the fun part – making the cake!
How to Make Nostalgic Fudge Ripple Ice Cream Cake
Okay, let’s dive into making this dreamy dessert! I’ll walk you through each step so your ice cream cake turns out perfect. The secret? Patience between layers – trust me, it’s worth the wait!
Bake the Chocolate Cake Layer
First things first – preheat your oven to whatever temperature your cake mix box specifies (usually 350°F). Mix up that chocolate cake batter following the package directions – I just use eggs, oil, and water like it says. Pour it into your greased 9×13 pan and bake until a toothpick comes out clean.
Here’s the crucial part: let that cake cool COMPLETELY. I mean it – no cheating! If you rush this step, the ice cream will melt into a puddle. I usually let mine sit for a good hour, sometimes even popping it in the fridge to speed things up.
Layer the Vanilla Ice Cream
While the cake cools, take your ice cream out to soften slightly. About 10 minutes on the counter does the trick – you want it spreadable but not soupy. Use an ice cream scoop to dollop it all over the cooled cake, then gently spread with a spatula into an even layer. Work quickly but don’t stress about it being perfect – those little waves and dips make it look homemade and wonderful!
Add the Fudge Ripple Swirl
Now the fun part! Warm your fudge sauce just slightly if it’s too thick – I microwave mine for 10 seconds. Drizzle it all over the ice cream layer in zigzags, then take a butter knife and gently swirl through to create that beautiful marbled effect. Don’t overdo it though – you want distinct ribbons of fudge throughout.
Finish with Toppings and Freeze
Sprinkle those crushed cookies evenly over the top, pressing lightly so they stick. Now comes the hardest part – waiting! Cover the pan with plastic wrap and freeze for at least 4 hours, though overnight is even better. This lets everything set properly so you get clean slices.
When you’re ready to serve, let it sit at room temperature for just 5 minutes before slicing. Use a sharp knife dipped in hot water for perfect cuts. Then watch everyone’s faces light up when they taste that first magical bite!
Tips for the Perfect Nostalgic Fudge Ripple Ice Cream Cake
After making this cake more times than I can count, I’ve picked up some tricks that guarantee perfection every time:
- Temperature is everything: That fudge sauce needs to be room temp – too cold and it won’t swirl, too hot and it’ll melt your ice cream layer
- Freeze the cake base first: If you’ve got time, pop the cooled cake in the freezer for 30 minutes before adding ice cream – creates an extra-stable foundation
- Hot knife magic: Dip your knife in hot water and wipe dry between slices for picture-perfect cuts every time
- Softening sweet spot: Let ice cream soften just until it spreads easily – about the consistency of thick frosting
- Storage pro tip: Press plastic wrap directly onto the surface before freezing to prevent ice crystals
Follow these simple tricks and your ice cream cake will be the star of every gathering!
Variations & Substitutions
One of my favorite things about this recipe is how easily you can mix it up! Here are some delicious twists I’ve tried over the years:
- Berry bliss: Swap the fudge ripple for strawberry sauce and use strawberry ice cream – perfect for summer picnics!
- Cookies and cream: Use cookies & cream ice cream instead of vanilla, and load up on extra Oreo crumbs
- Brownie base bonus: Too lazy to bake? Use store-bought brownies as your base layer – just slice them in half horizontally
- Mint chocolate magic: Try mint chocolate chip ice cream with chocolate ganache drizzle – my St. Patrick’s Day special
- Peanut butter lover’s dream: Swirl in peanut butter instead of fudge and top with chopped Reese’s cups
The possibilities are endless – what combination will you try first? Just remember the golden rule: whatever you use, make sure it’s something you’d happily eat by the spoonful!
Serving and Storage for Nostalgic Fudge Ripple Ice Cream Cake
Okay, let’s talk about the best ways to serve and keep your masterpiece! After waiting those long hours for it to freeze, you’ll want to do this right.
The perfect slice: Take the cake out of the freezer about 5 minutes before serving – just enough to soften slightly but not melt. I use a sharp knife dipped in hot water (wipe it dry between cuts!) for clean slices that show off all those beautiful layers. Pro tip: slice straight from the freezer for cleaner cuts, then let individual pieces sit for a minute before eating.
Storage secrets: Leftovers? (As if!) Cover the pan tightly with plastic wrap or transfer slices to an airtight container. It’ll keep beautifully in the freezer for up to a week – though in my house it never lasts that long! If you’re making it ahead for a party, I recommend assembling up to 3 days in advance.
Reviving leftovers: If your cake develops tiny ice crystals after a few days (it happens!), just let it thaw for 10 minutes before serving – the texture will be just as dreamy as day one. I sometimes sprinkle fresh cookie crumbs on leftover slices to revive that perfect crunch!
Nutritional Information
Now, I know what you’re thinking – “Should I really be checking nutrition facts for something this delicious?” But hey, I get it – we all like to know what we’re eating! Just remember these numbers are estimates since they’ll change based on the specific brands you use.
Each slice of this nostalgic treat gives you a perfect balance of creamy, chocolatey goodness. The cake layer provides that comforting homemade taste, while the ice cream adds rich creaminess. That fudge ripple? Pure happiness in every bite! The crushed cookies on top give just enough crunch to make each mouthful interesting.
What really matters is that this dessert brings people together. Whether it’s a birthday party or just a Tuesday night treat, it’s all about savoring those special moments. So go ahead – enjoy every bite without guilt! After all, some of life’s best memories happen over slices of ice cream cake.
Frequently Asked Questions
I’ve gotten so many questions about this nostalgic fudge ripple ice cream cake over the years – let me answer the most common ones for you!
Can I use homemade cake instead of a mix?
Absolutely! My grandma’s chocolate cake recipe works beautifully here. Just make sure it’s completely cooled before adding the ice cream layer. The box mix is just my shortcut when I’m short on time – either way tastes amazing!
How do I prevent the ice cream from melting too fast at parties?
Here’s my party trick: I freeze the whole cake on a baking sheet, then transfer it to a chilled serving platter right before guests arrive. Keep it in the freezer until the last possible minute, and return any leftovers quickly. Those extra cold surfaces buy you precious serving time!
Can I make this dairy-free?
You sure can! I’ve successfully used coconut milk ice cream and vegan whipped topping for friends with dietary restrictions. Just check that your fudge sauce is dairy-free too – many store-bought ones surprisingly are!
Why does my fudge ripple sink into the ice cream?
This usually means your ice cream was too soft when you added the sauce. Next time, freeze the ice cream layer for 15 minutes before swirling in the fudge. The slightly firmer base helps the ripple stay distinct and beautiful.
How far in advance can I make this?
The sweet spot is 1-3 days ahead – any longer and the texture starts changing. But honestly? It’s so good that leftovers are rare in my house! The flavors actually get better after that first day as everything melds together.
Got more questions? Share your creation with us in the comments and tell me how your nostalgic fudge ripple ice cream cake turned out! I love hearing your twists and tips too.
Print
5-Ingredient Nostalgic Fudge Ripple Ice Cream Cake Magic
- Total Time: 4 hours 50 minutes
- Yield: 12 servings 1x
- Diet: Vegetarian
Description
A creamy ice cream cake layered with nostalgic fudge ripple for a rich dessert.
Ingredients
- 1 box chocolate cake mix
- 1 quart vanilla ice cream
- 1 cup fudge ripple sauce
- 1 cup whipped topping
- 1/2 cup crushed chocolate cookies
Instructions
- Bake the chocolate cake as per package instructions and let it cool.
- Soften the vanilla ice cream slightly and spread it over the cooled cake.
- Drizzle the fudge ripple sauce evenly over the ice cream layer.
- Sprinkle crushed chocolate cookies on top.
- Freeze for at least 4 hours before serving.
Notes
- Use room temperature fudge sauce for easier drizzling.
- Freeze the cake for at least 4 hours to set properly.
- Serve with extra whipped topping if desired.
- Prep Time: 20 minutes
- Cook Time: 30 minutes
- Category: Dessert
- Method: Baking, Freezing
- Cuisine: American
Nutrition
- Serving Size: 1 slice
- Calories: 320
- Sugar: 25g
- Sodium: 180mg
- Fat: 12g
- Saturated Fat: 6g
- Unsaturated Fat: 4g
- Trans Fat: 0g
- Carbohydrates: 45g
- Fiber: 2g
- Protein: 4g
- Cholesterol: 20mg


