

Oh my goodness, you guys – let me tell you about the first time I tried Chocolate Nemesis Dessert. It was at this tiny Parisian café where the waiter insisted I “must try their signature dish.” One bite and I was done for – that silky, melt-in-your-mouth texture, that intense chocolate flavor that somehow isn’t too sweet… I swear I heard angels sing!
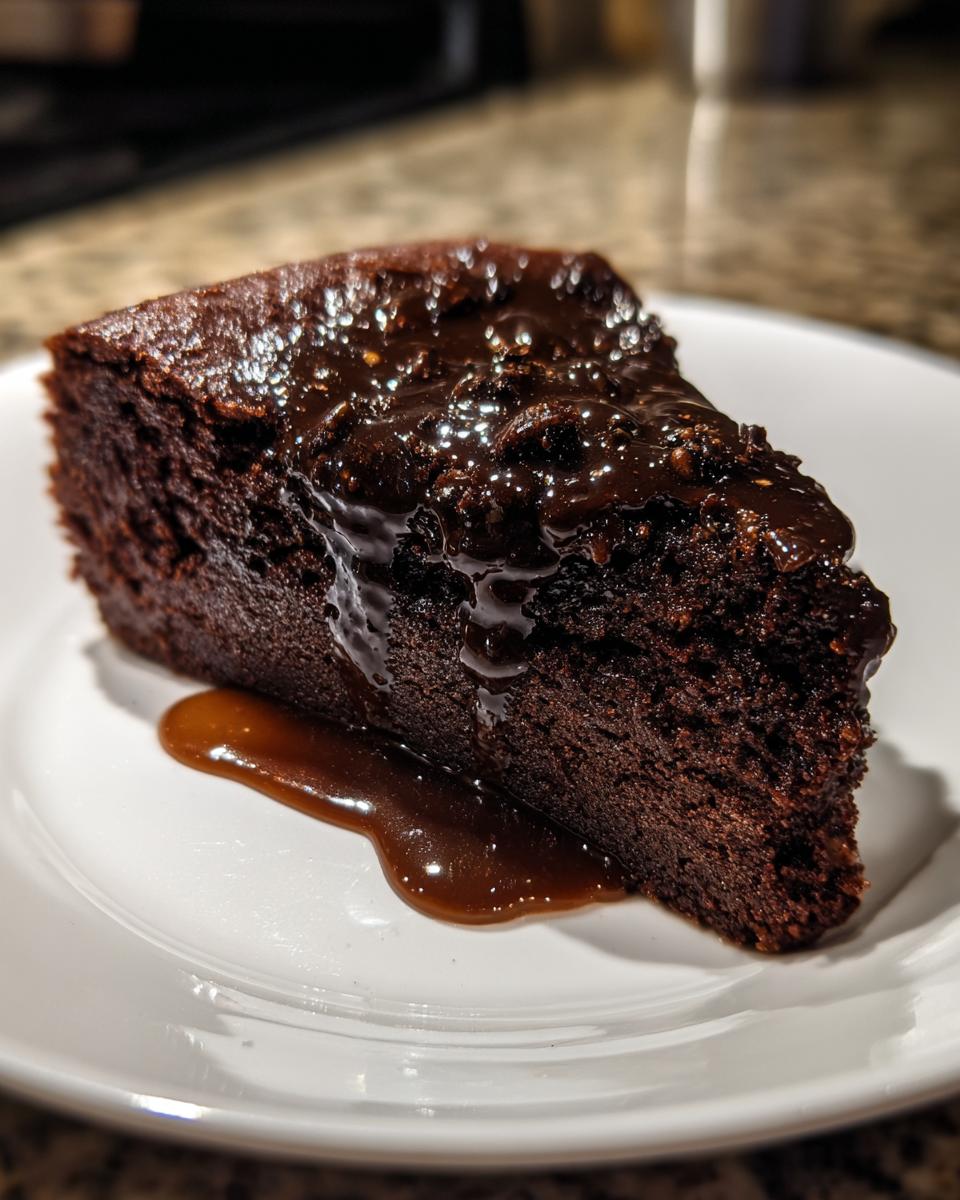
This isn’t just any chocolate dessert – it’s pure magic in a cake tin. What blows my mind is how such simple ingredients can transform into something so ridiculously decadent. The top forms this delicate crust that gives way to a center so lush and velvety, it’s like chocolate pudding and cake had a beautiful love child.
I begged the chef for the recipe (okay, I may have exaggerated how much French I knew) and spent months perfecting it at home. Now it’s my go-to when I need to impress – whether it’s date night or book club. The best part? It’s shockingly easy to make once you know the tricks. Just wait till you see your friends’ faces when they take that first bite!
Why You’ll Love This Chocolate Nemesis Dessert
Let me count the ways this dessert will steal your heart (and probably your waistline):
- Rich doesn’t begin to cover it – we’re talking deep, complex chocolate flavor that lingers on your tongue like the last note of a perfect symphony
- Foolproof elegance – with just 6 ingredients and one bowl, you’ll look like a pastry chef without the stress
- That magical texture – crisp top giving way to a center so velvety it’ll make you sigh
- Instant wow factor – serve this at your next dinner party and watch people’s eyes roll back in bliss
- Better than restaurant quality – using premium chocolate means yours will taste superior to most fancy dessert menus
Trust me, once you make this, you’ll understand why I call it “nemesis” – it’s impossible to resist!
Ingredients for Chocolate Nemesis Dessert
Here’s the beautiful part – you only need a handful of ingredients to create chocolate heaven, but quality matters BIG time. This isn’t the moment to skimp! Here’s exactly what you’ll need:
- 200g dark chocolate (70% cocoa) – This is your star! I splurge on the good stuff like Valrhona or Callebaut. Anything less than 70% won’t give you that deep, grown-up chocolate punch.
- 200g unsalted butter – European-style butter (like Kerrygold) works wonders here. And please – no margarine unless you want to break my heart!
- 4 large eggs – Room temperature is crucial – cold eggs won’t whip up properly. I leave mine out for at least an hour before baking.
- 150g granulated sugar – Just enough sweetness to balance the chocolate’s bitterness without overpowering it.
- 1 tsp vanilla extract – The real deal, not imitation. It rounds out all those rich flavors.
- Pinch of salt – Don’t skip this! It brightens the chocolate flavor like magic.
See? Simple ingredients, extraordinary results. Now let’s turn these into something magical!
Equipment You’ll Need
You won’t need fancy gadgets for this – just a few trusty kitchen staples:
- 20cm (8-inch) cake tin – Springform makes life easier, but any sturdy tin works
- Heatproof mixing bowl – For that crucial chocolate-butter melt
- Whisk & spatula – A balloon whisk works best for those eggs
- Small saucepan – For your makeshift double boiler
- Measuring scales – Precision matters with chocolate desserts
That’s it! No stand mixer required – just good old-fashioned elbow grease and love.
How to Make Chocolate Nemesis Dessert
Alright, let’s get down to business! Making this dessert is easier than you think, but there are a few key steps that’ll make all the difference between good and “oh-my-word-where-has-this-been-all-my-life” amazing.
Melting the Chocolate and Butter
First things first – we’re melting our chocolate and butter together. Now, I know microwaving seems tempting, but trust me, the double boiler method is worth the extra few minutes. Fill a small saucepan with about an inch of water and bring it to a gentle simmer (not boiling!). Place your heatproof bowl on top – make sure it doesn’t touch the water. Add your chopped chocolate and cubed butter, stirring occasionally until it’s smooth as silk.
Here’s my golden rule: if you think it’s melted enough, take it off the heat! Chocolate continues melting from residual heat, and overheating causes separation (we’ve all been there). Let it cool slightly while you work on the eggs.
Preparing the Egg Mixture
This step is where the magic happens! In a large bowl, whisk your room-temperature eggs and sugar together vigorously for a good 3-4 minutes until they’re pale, thick, and form ribbons when you lift the whisk. Think “lemony custard” color – that’s your visual cue.
Now, here’s the tricky part: gently fold the chocolate mixture into the eggs using a spatula. I do this in three additions, making sure to scrape the bowl’s bottom and sides. Overmixing is the enemy here – we want to keep all that lovely air we just whipped in!
Baking the Chocolate Nemesis Dessert
Pour your luscious batter into a greased 20cm tin (I line mine with parchment too, just to be safe). Bake at 160°C (320°F) for 30-35 minutes. The center should still have a slight wobble when you gently shake the pan – like barely set jelly. A toothpick inserted near (not in) the center should come out with moist crumbs, not wet batter.
Resist the urge to poke and prod! Let it cool completely in the pan – I know it’s torture, but rushing this step leads to heartbreak (and crumbly messes). The wait is absolutely worth it, promise!
Tips for Perfect Chocolate Nemesis Dessert
After making this dessert more times than I can count (okay, fine – I lost track after the twelfth batch last month), here are my hard-earned secrets for Chocolate Nemesis perfection:
- Chocolate matters most – Splurge on the good stuff! Cheap chocolate makes a dull dessert. Look for 70% cocoa with cocoa butter (not vegetable oil) in the ingredients.
- Eggs must be room temp – Cold eggs won’t whip properly. I put mine in warm water for 10 minutes if I forget to take them out.
- Don’t peek while baking! That oven light is there for a reason. Opening the door causes temperature drops that can make your dessert sink.
- Underbake slightly – It keeps setting as it cools. Better slightly under than over – nobody wants chocolate cardboard!
- Patience is key – Let it cool completely before slicing. I know it’s hard, but rushing leads to chocolate puddles (delicious, but not the goal).
Follow these tips, and you’ll have friends begging for your recipe!
Serving Suggestions for Chocolate Nemesis Dessert
Oh, the fun part! This dessert shines on its own, but a few simple additions can take it to the next level. My absolute favorite? A dollop of barely-sweetened whipped cream – the cool creaminess cuts through the rich chocolate like a dream. Fresh raspberries or strawberries add a lovely tart contrast, and their vibrant color makes for stunning presentation. For true decadence, serve it slightly warm with a scoop of vanilla bean ice cream melting over the top – pure heaven!
Presentation tip: Dust with cocoa powder or powdered sugar right before serving, and use a warm knife (dipped in hot water) for clean slices. Bonus points if you serve it on your prettiest cake stand – this beauty deserves to shine!
Storage and Reheating Instructions
Good news – this dessert keeps beautifully! Just cover it tightly with plastic wrap or store in an airtight container in the fridge for up to 3 days. The texture actually improves after a day – it becomes even more fudgy and decadent. If you must reheat (though I prefer it room temp or slightly chilled), do it gently – 10 second bursts in the microwave or a few minutes in a low oven. Pro tip: Bring slices to room temperature for about 20 minutes before serving to let all those chocolate flavors shine!
Chocolate Nemesis Dessert Variations
While the classic version is perfection, sometimes I love playing with fun twists! Here are my favorite ways to jazz up this dessert without losing its magical texture:
- Espresso kick – Add 1 tsp instant espresso powder to the melted chocolate for a mocha version that coffee lovers adore
- Zesty surprise – Stir in 1 tbsp orange zest for a bright citrus contrast that cuts through the richness
- Nutty crunch – Fold in 50g chopped toasted hazelnuts or almonds for texture (add after folding in chocolate)
- Spiced warmth – A pinch of cinnamon or cayenne pepper adds intriguing depth
My golden rule? Keep additions subtle – we want to enhance, not overpower that glorious chocolate flavor!
Nutritional Information
Now, I’m no nutritionist (and frankly, when chocolate’s involved, I don’t want to be!), but here’s the scoop on what you’re enjoying per slice. Remember – these are estimates that’ll vary based on your exact ingredients. My numbers are based on using 70% dark chocolate and European-style butter:
- Per serving (1/8 of recipe): About 320 calories
- Fat content: 22g (yes, that’s the good, decadent kind!)
- Sugar: 25g – less than most store-bought desserts!
Consider this your permission to savor every luxurious bite guilt-free. Life’s too short for bad chocolate math!
Frequently Asked Questions
After sharing this recipe with dozens of friends (who then shared it with dozens more), I’ve heard every question imaginable. Here are the ones that come up most often – and my tried-and-true answers!
Can I use milk chocolate instead of dark?
Oh honey, I wouldn’t! The 70% dark chocolate is what gives this dessert its sophisticated depth. Milk chocolate makes it overly sweet and loses that luxurious grown-up appeal. If you must use milk chocolate, at least go for a high-quality one with at least 40% cocoa content.
Can I freeze Chocolate Nemesis Dessert?
Absolutely! Wrap individual slices tightly in plastic wrap, then foil, and freeze for up to a month. Thaw overnight in the fridge – it’ll taste just as amazing. I always keep a slice or two stashed for emergencies (you know, those chocolate emergencies we all have).
Can I Make Chocolate Nemesis Dessert Ahead?
This dessert actually benefits from resting! Make it up to 2 days in advance – the flavors deepen beautifully. Just store it covered in the fridge and let it come to room temperature before serving. The texture becomes even more velvety!
What If My Dessert Cracks?
First – don’t panic! Cracks usually mean it baked a tad too long or cooled too quickly. The good news? It’ll still taste incredible. Dust with cocoa powder or top with berries to camouflage. Next time, try reducing oven time by 5 minutes and let it cool gradually in the turned-off oven with the door ajar.
Why did my dessert turn out dense instead of velvety?
This usually happens from overmixing the batter or using cold eggs. Remember – gentle folds, not vigorous stirring! And always let those eggs come to room temperature first. Trust me, the extra patience pays off in that dreamy texture.
Share Your Chocolate Nemesis Dessert Experience
I’d love to hear how your Chocolate Nemesis turns out! Did it make your guests swoon? Did you try any fun variations? Drop a comment below or tag me on Instagram with your creations – nothing makes me happier than seeing your chocolate masterpieces. And hey, if you loved it as much as I do, share this recipe with another chocolate lover in your life!
Print
Decadent Chocolate Nemesis Dessert Will Steal Your Heart
- Total Time: 50 minutes
- Yield: 8 servings 1x
- Diet: Vegetarian
Description
A rich and decadent chocolate dessert that melts in your mouth.
Ingredients
- 200g dark chocolate (70% cocoa)
- 200g unsalted butter
- 4 large eggs
- 150g granulated sugar
- 1 tsp vanilla extract
- Pinch of salt
Instructions
- Preheat oven to 160°C (320°F).
- Melt chocolate and butter together in a heatproof bowl over simmering water.
- Beat eggs and sugar until light and fluffy.
- Fold the melted chocolate mixture into the egg mixture gently.
- Add vanilla extract and a pinch of salt.
- Pour into a greased 20cm cake tin.
- Bake for 30-35 minutes until set but slightly wobbly in the center.
- Let it cool completely before serving.
Notes
- Use high-quality chocolate for the best flavor.
- Serve with whipped cream or berries for extra indulgence.
- Store leftovers in the fridge for up to 3 days.
- Prep Time: 15 minutes
- Cook Time: 35 minutes
- Category: Dessert
- Method: Baking
- Cuisine: European
Nutrition
- Serving Size: 1 slice
- Calories: 320
- Sugar: 25g
- Sodium: 50mg
- Fat: 22g
- Saturated Fat: 13g
- Unsaturated Fat: 7g
- Trans Fat: 0g
- Carbohydrates: 28g
- Fiber: 2g
- Protein: 5g
- Cholesterol: 120mg


