
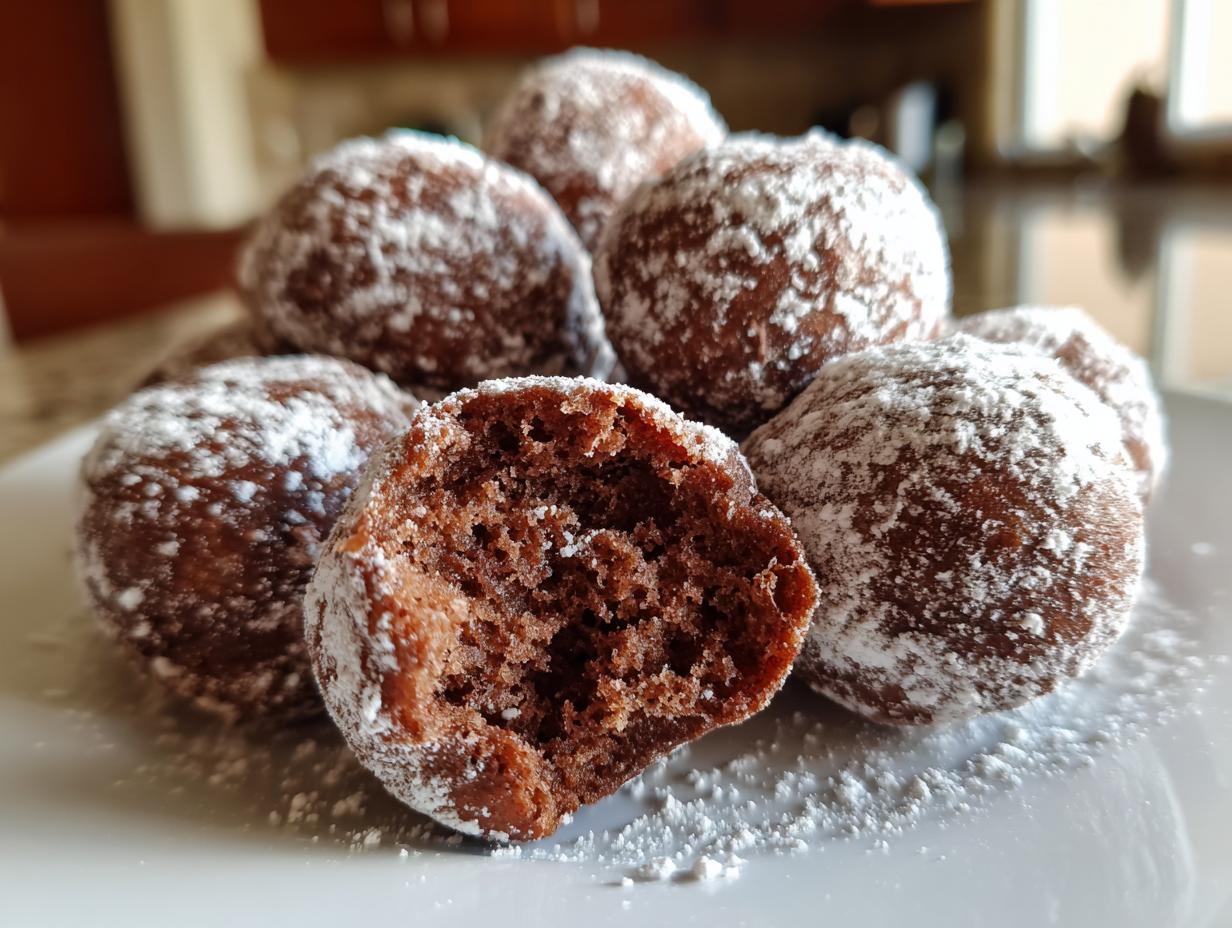
Oh my goodness, let me tell you about my absolute weakness – chocolate donut holes! There’s just something magical about popping these bite-sized treats straight from the fryer while they’re still warm and dusted with that snowy powdered sugar. I still remember making them with my mom on snowy weekends, our kitchen filling with that incredible chocolate aroma while we took turns carefully dropping spoonfuls of batter into the bubbling oil. The best part? They’re so simple to make at home. Forget the donut shop – these homemade chocolate donut holes are richer, fresher, and way more satisfying when you make them yourself!
Why You’ll Love These Chocolate Donut Holes
Trust me, these aren’t just any donut holes – they’re little bites of chocolate heaven! Here’s why they’ll become your new favorite:
- Faster than running to the bakery – Ready in under 30 minutes from bowl to first bite
- Deep chocolate flavor that makes store-bought taste bland in comparison
- Kids go crazy for them (and adults too – no judgement!)
- Perfect for parties – just watch them disappear from the plate
- So fun to make – the frying part feels like a mini science experiment
Seriously, once you try homemade, you’ll never go back to the bakery case again!
The Magic Ingredients for Perfect Chocolate Donut Holes
Here’s the beautiful thing about these donut holes – you probably have most of these ingredients in your pantry already! I’ve found that using good quality cocoa powder makes all the difference, so don’t skimp there. Let me walk you through exactly what you’ll need:
Dry Ingredients:
- 1 cup all-purpose flour – spooned and leveled, don’t pack it!
- 1/4 cup cocoa powder – I prefer Dutch-processed for that deep chocolate flavor
- 1/2 cup granulated sugar – the perfect amount of sweetness
- 1 teaspoon baking powder – make sure it’s fresh for good lift
- 1/4 teaspoon salt – just a pinch to balance the flavors
Wet Ingredients:
- 1/2 cup whole milk – room temperature (cold milk can make the batter lumpy)
- 1 large egg – also at room temperature
- 1 teaspoon vanilla extract – the good stuff, not imitation
- 2 tablespoons melted butter – slightly cooled, unsalted is my preference
For Frying & Finishing:
- Vegetable oil for frying – about 2 inches deep in your pan
- Powdered sugar – for that gorgeous snowy finish
See? Nothing fancy – just simple ingredients that come together to create something magical. I always measure everything out before I start – it makes the process so much smoother when you’re not scrambling to crack an egg while the oil heats up!
The Simple Tools You’ll Need
Here’s the great news – you don’t need any fancy equipment to make amazing chocolate donut holes! Just gather these basics from your kitchen:
- 2 mixing bowls – one for dry ingredients, one for wet
- Whisk – to blend everything smoothly
- Deep frying pan or pot – I use my trusty cast iron skillet
- Candy/fry thermometer – crucial for perfect oil temperature
- Slotted spoon – for safely removing those golden beauties
- Paper towels – for draining excess oil
That’s it! Now let’s get cooking.
How to Make Chocolate Donut Holes
Alright, let’s get to the fun part – making these irresistible chocolate donut holes! I promise, it’s easier than you think. Just follow these simple steps, and soon you’ll be enjoying warm, chocolatey bites of heaven.
Step 1: Mix Dry Ingredients
First things first – grab your biggest mixing bowl. I like to sift together the flour, cocoa powder, sugar, baking powder, and salt. Now, I know sifting seems like an extra step, but trust me, it makes all the difference! It gets rid of any lumps in the cocoa and helps everything incorporate evenly. Just run your whisk through the dry ingredients a few times until they’re perfectly blended. You’ll notice the cocoa powder makes the mixture look like rich, dark chocolate sand – that’s exactly what you want!
Step 2: Whisk Wet Ingredients
In another bowl (medium-sized works great here), whisk together the milk, egg, vanilla, and melted butter. Here’s my little secret – make sure your melted butter has cooled slightly before adding it, or you might end up with scrambled egg in your batter (been there, done that – not tasty!). Whisk it all until it’s completely smooth and slightly frothy. The vanilla scent will have you swooning already – just wait until these start frying!
Step 3: Fry to Perfection
Now for the magic! Heat about 2 inches of oil in a deep pan to 350°F – this is where your candy thermometer becomes your best friend. Too cold and your donut holes will be greasy; too hot and they’ll burn before cooking through. Once the oil is perfectly hot, drop in small spoonfuls of batter (I use a cookie scoop for perfect little rounds). They’ll sink at first, then float up as they cook. Fry for 2-3 minutes until they’re a beautiful golden brown all over. I like to flip them halfway with my slotted spoon to ensure even cooking. When they’re done, transfer them to paper towels to drain – but don’t wait too long before dusting with powdered sugar and taking that first heavenly bite!

See? I told you it was easy! The hardest part now will be waiting for them to cool enough to eat without burning your tongue… though I can never actually wait that long myself!
Tips for Perfect Chocolate Donut Holes
After making hundreds (okay, maybe thousands) of these chocolate donut holes over the years, I’ve picked up some tricks that’ll take yours from good to “oh my goodness, give me the whole batch!” Here are my absolute must-know tips:
Size matters – use a cookie scoop!
That tablespoon from your silverware drawer? Toss it aside! A small cookie scoop (about 1 tablespoon size) gives you perfectly even donut holes every time. They’ll cook evenly and look bakery-worthy. No scoop? Two teaspoons work in a pinch – just scrape the batter off with another spoon.
Oil temperature is EVERYTHING
I can’t stress this enough – keep that oil at a steady 350°F. Too cool and your donut holes will soak up oil like sponges. Too hot and they’ll burn on the outside while staying raw inside. I keep my thermometer clipped to the pan and adjust the heat as needed. Pro tip: Fry in small batches so the temperature doesn’t drop too much when you add batter.
Timing is key for that powdered sugar dusting
Want that gorgeous snowy look? Dust the powdered sugar while the donut holes are still warm (but not piping hot). The residual heat helps it stick beautifully. If you wait until they’re completely cool, the sugar just falls right off. And listen – no shame in doing a second dusting right before serving for extra prettiness!
The golden brown test never lies
Don’t just rely on the timer – your eyes are the best tool here. Perfect donut holes should be evenly golden brown all over. If they’re getting too dark too fast, your oil’s too hot. Still pale after 3 minutes? Crank up the heat a smidge. You’ll know they’re done when they look like little chocolate jewels.
Let them breathe on the rack
Resist the urge to pile them up straight from the fryer! Spread them out in a single layer on a cooling rack with paper towels underneath. This keeps them crisp all over instead of getting soggy on one side. Though let’s be real – they rarely last long enough to get soggy in my house!

Fun Twists & Perfect Pairings
Oh, the possibilities with these little chocolate gems! Sometimes I’ll add a pinch of cinnamon to the dry ingredients for a Mexican chocolate vibe. For special occasions, I drizzle them with melted chocolate ganache instead of powdered sugar – total showstopper! They’re absolute perfection with a cold glass of milk (the classic combo) or dunked in your morning coffee. Sunday brunch isn’t complete without a plate of these warm donut holes and a pot of strong coffee – just try not to eat them all before your guests arrive!
You can find more inspiration for sweet treats on Pinterest.
Keeping Your Chocolate Donut Holes Fresh (Because Let’s Be Real – Leftovers Are Rare!)
I know what you’re thinking – who actually has leftovers of these addictive little treats? But just in case a few manage to survive (or you’re the disciplined type who plans ahead), here’s how to keep them tasting fresh:
The Best Way to Store Donut Holes
Once completely cooled (this is important – no trapping steam!), tuck your chocolate donut holes into an airtight container. I line mine with paper towels to absorb any excess oil. They’ll stay delicious at room temperature for about 2 days – if you can resist them that long!
Freezing for Future Cravings
Here’s my secret weapon: freeze them! Spread the donut holes in a single layer on a baking sheet until frozen solid (about 2 hours), then transfer to a freezer bag. They’ll keep for 1 month – perfect for surprise guests or sudden chocolate emergencies. No need to thaw before reheating!
Bringing Them Back to Life
Want that just-fried magic again? Pop frozen or day-old donut holes in a 350°F oven or air fryer for 3-4 minutes. The dry heat crisps them right back up. Dust with fresh powdered sugar and – voila! – it’s like you just made them. Pro tip: Don’t microwave unless you enjoy soggy donuts – I learned that one the hard way!
Chocolate Donut Holes Nutrition
Okay, let’s be real – we’re not eating chocolate donut holes for their health benefits! But I know some of you like to keep track (or maybe just want to know how many extra laps around the block you’ll need to do). Here’s the scoop on what’s in these little bites of joy:
Estimated per serving (5 donut holes):
- 220 calories – totally worth every single one
- 15g sugar – that’s the sweet spot (pun intended)
- 4g protein – hey, there’s an egg in there!
- 32g carbs – perfect for an energy boost
- 8g fat – because butter makes everything better
Remember, these numbers can vary based on your exact ingredients and how much oil the donut holes absorb during frying. Using different types of milk or adjusting the sugar will change things too. But honestly? When you’re biting into one of these warm, chocolatey clouds, the numbers hardly matter. Everything in moderation, right? Now go enjoy your donut holes guilt-free – life’s too short not to!
FAQs About Chocolate Donut Holes
After years of making these addictive little treats (and fielding questions from friends who steal them off my plate), I’ve heard just about every donut hole question imaginable! Here are the answers to the ones I get asked most:
Can I bake these instead of frying them?
You absolutely can! While frying gives that classic donut shop texture, baked chocolate donut holes are delicious too. Just scoop the batter onto a parchment-lined baking sheet and bake at 350°F for 10-12 minutes. They’ll be more like tender little cakes – still yummy, just different. Spray them lightly with oil before baking for a slightly crispier exterior.
How do I make gluten-free chocolate donut holes?
Easy swap! Use a 1:1 gluten-free flour blend (I like the ones with xanthan gum already added) instead of regular flour. The texture might be slightly denser, but still totally delicious. And psst – make sure your baking powder is gluten-free too, since some brands contain wheat starch.
Why did my donut holes turn out greasy?
This usually means your oil wasn’t hot enough – that 350°F is crucial! If the oil’s too cool, the batter absorbs it instead of forming a crisp crust. Also, don’t overcrowd the pan – adding too many at once drops the temperature. And always let them drain well on paper towels after frying.
Can I make the batter ahead of time?
I don’t recommend it – the baking powder starts working as soon as it hits the liquid, so the batter won’t be as fluffy if it sits. But you can measure all your dry ingredients ahead and have them ready to go! The actual mixing and frying takes under 30 minutes anyway.
What’s the best oil for frying donut holes?
I swear by vegetable or canola oil – they have high smoke points and neutral flavors. Peanut oil works great too if you don’t have allergies to worry about. Avoid olive oil (too strong-tasting) and butter (it burns at frying temperatures). And always filter and save your oil – it’s good for 2-3 more batches!


Irresistible 30-Minute Chocolate Donut Holes Recipe
- Total Time: 25 mins
- Yield: 20 donut holes 1x
- Diet: Vegetarian
Description
Chocolate donut holes are bite-sized treats perfect for snacking. They’re soft, chocolatey, and easy to make at home.
Ingredients
- 1 cup all-purpose flour
- 1/4 cup cocoa powder
- 1/2 cup sugar
- 1 tsp baking powder
- 1/4 tsp salt
- 1/2 cup milk
- 1 egg
- 1 tsp vanilla extract
- 2 tbsp melted butter
- Oil for frying
- Powdered sugar for dusting
Instructions
- Mix flour, cocoa powder, sugar, baking powder, and salt in a bowl.
- In another bowl, whisk milk, egg, vanilla, and melted butter.
- Combine wet and dry ingredients to form a thick batter.
- Heat oil in a deep pan to 350°F.
- Drop small spoonfuls of batter into the hot oil.
- Fry for 2-3 minutes until golden brown.
- Drain on paper towels.
- Dust with powdered sugar before serving.
Notes
- Use a cookie scoop for even-sized donut holes.
- Adjust sugar based on your preference.
- Serve warm for the best taste.
- Prep Time: 10 mins
- Cook Time: 15 mins
- Category: Dessert
- Method: Frying
- Cuisine: American
Nutrition
- Serving Size: 5 donut holes
- Calories: 220
- Sugar: 15g
- Sodium: 150mg
- Fat: 8g
- Saturated Fat: 4g
- Unsaturated Fat: 3g
- Trans Fat: 0g
- Carbohydrates: 32g
- Fiber: 2g
- Protein: 4g
- Cholesterol: 35mg


