
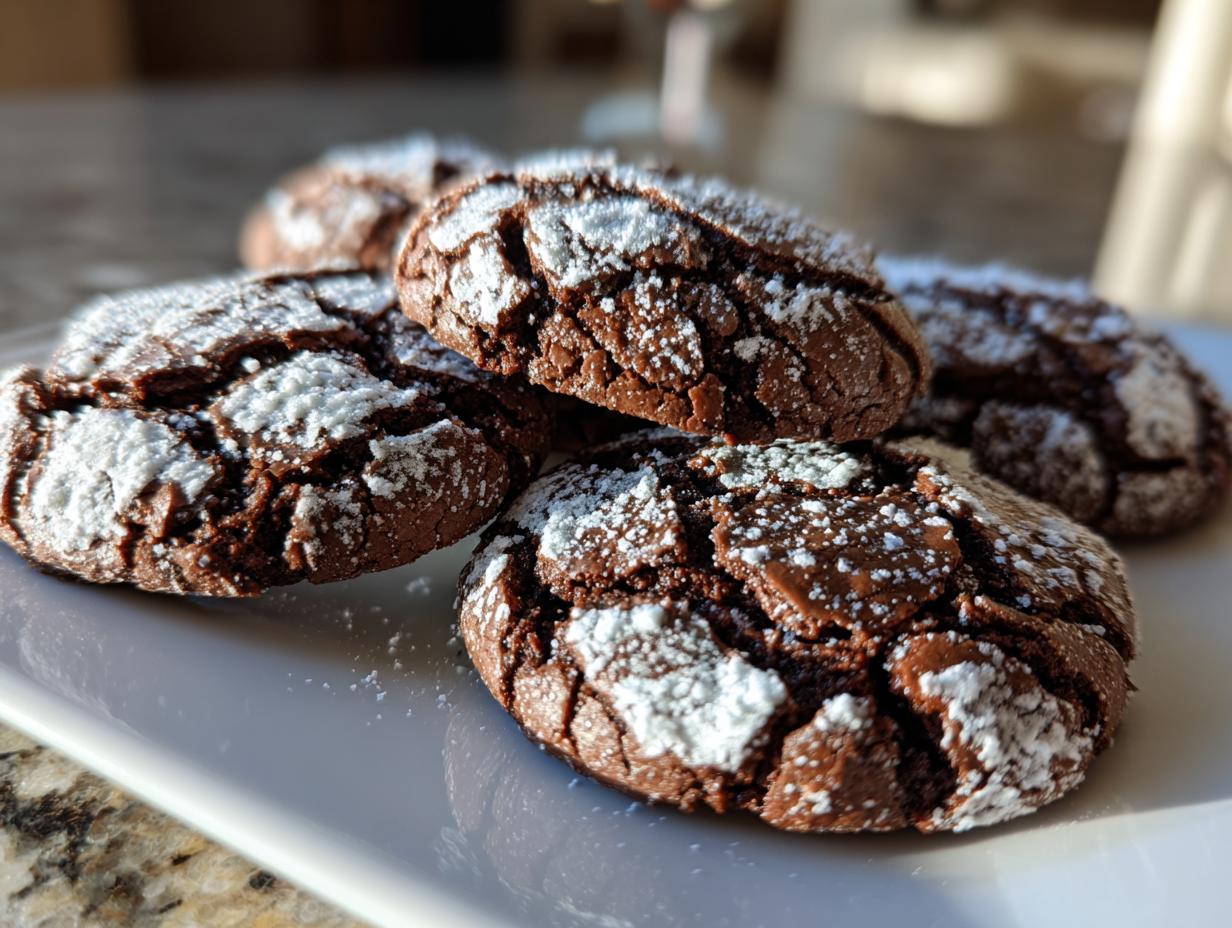
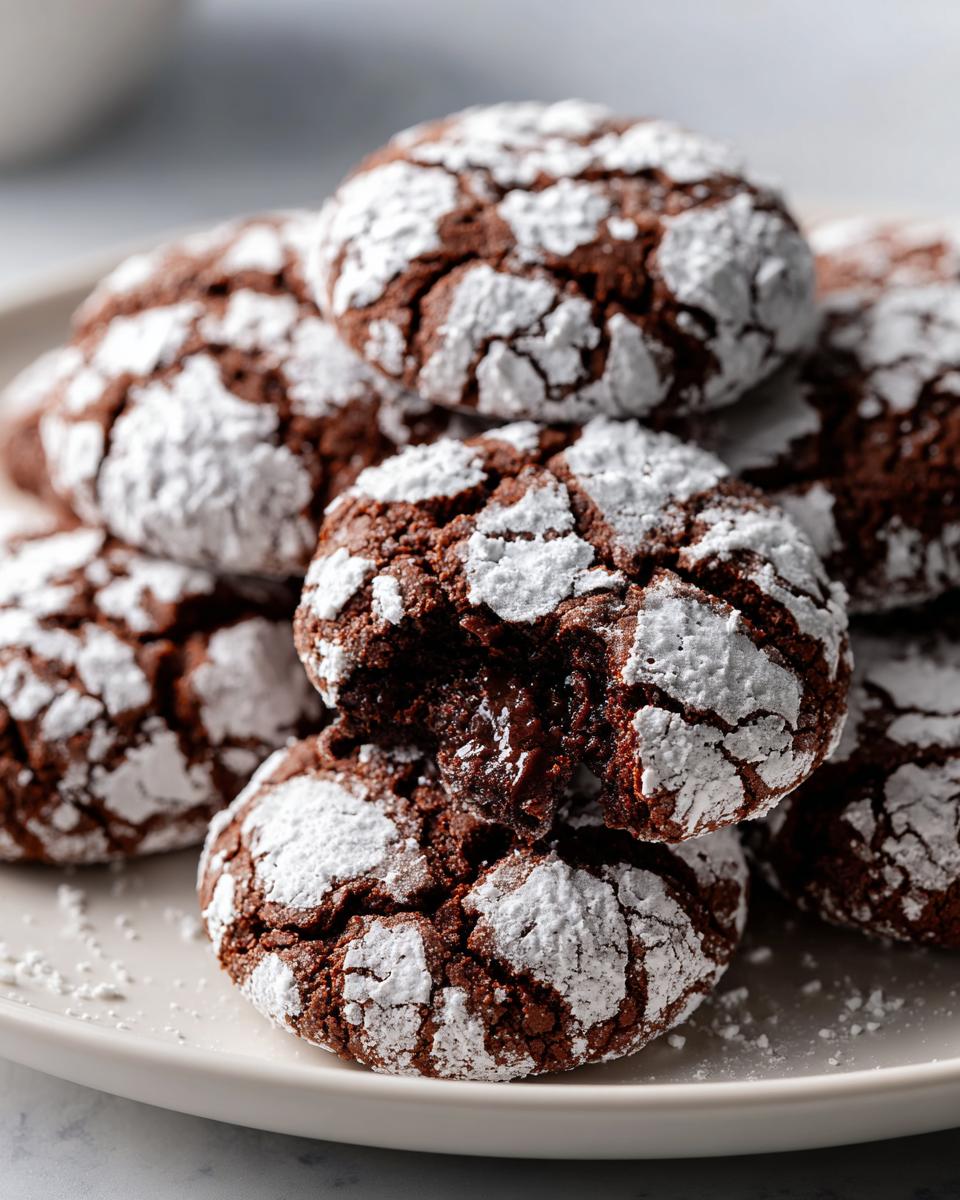
There’s something magical about pulling a tray of chocolate crinkle cookies from the oven – that moment when you see the cracks forming in their snowy white coating is pure baking joy. I first fell in love with these fudgy wonders at my aunt’s holiday party years ago, sneaking seconds (okay, thirds) from the dessert table. The contrast between the soft, almost brownie-like center and that delicate powdered sugar crust hooked me instantly. Now I make them year-round because, let’s be honest, who can resist cookies that look like little snowballs and taste like rich chocolate heaven?
Why You’ll Love These Chocolate Crinkle Cookies
Trust me, these aren’t just any cookies – they’re little bites of chocolate happiness that’ll disappear faster than you can say “just one more!” Here’s why they’re my go-to treat:
- That fudgy center – like biting into the best brownie, but in cookie form
- Snowball magic – the powdered sugar coating cracks as they bake, creating that gorgeous marbled look
- Simple ingredients – probably everything you’ve got in your pantry right now
- Perfect for gifting – they’re almost too pretty to eat (almost!)
- Kids love helping – rolling the dough balls is messy, sugary fun
Seriously, these cookies check all the boxes – easy, delicious, and downright adorable.
Ingredients for Chocolate Crinkle Cookies
Grab these simple ingredients – I bet you’ve got most in your kitchen already! The magic happens when these basic items come together:
- 1 cup all-purpose flour – spoon and level it for perfect measurement
- 1/2 cup unsweetened cocoa powder – my secret? Dutch-processed for extra richness
- 1 tsp baking powder – not soda! This gives them just the right lift
- 1/4 tsp salt – balances all that sweetness beautifully
- 3/4 cup granulated sugar – regular white sugar works great here
- 1/4 cup vegetable oil – makes them wonderfully moist
- 2 large eggs – room temperature blends smoother
- 1 tsp vanilla extract – pure extract makes all the difference
- 1/2 cup powdered sugar – for that signature snowy coating
See? Nothing fancy – just good, honest ingredients ready to transform into something amazing.
How to Make Chocolate Crinkle Cookies
Don’t let their fancy look fool you – these cookies are surprisingly simple to make! Just follow these easy steps, and you’ll have perfect crinkle cookies every time.
Step 1: Mix the Dry Ingredients
First things first – grab a medium bowl and whisk together your flour, cocoa powder, baking powder, and salt. Here’s my little secret: I always sift the cocoa powder first to prevent lumps. Trust me, nobody wants a clumpy cookie! Just whisk everything until it’s evenly combined and looks like rich, chocolatey sand.
Step 2: Combine Wet Ingredients
Now for the fun part! In a large bowl, beat together the sugar, oil, eggs, and vanilla until everything’s smooth and glossy. I like to use my hand mixer for about 2 minutes – you’ll know it’s ready when the mixture lightens slightly in color. This step creates that perfect fudgy texture we all love.
Step 3: Chill the Dough
Here’s where patience comes in! Cover your bowl with plastic wrap and pop it in the fridge for at least 2 hours. I know, I know – waiting is hard! But this chilling time is what gives the cookies their perfect texture. The dough firms up so you can roll it into balls, and it helps create those gorgeous cracks when they bake.
Step 4: Shape and Coat the Cookies
Time to get your hands dirty! Roll tablespoon-sized portions of dough into balls – I like to use a small cookie scoop for consistency. Then roll each ball generously in powdered sugar until they’re completely coated. Pro tip: roll them twice for extra snowy coverage! Place them about 2 inches apart on your baking sheet.
Step 5: Bake to Perfection
Pop those beauties in a 350°F oven for 10-12 minutes. You’ll know they’re done when the cookies have cracked beautifully but still look slightly soft in the center. Resist the urge to overbake – they’ll firm up as they cool! Let them rest on the baking sheet for 5 minutes before transferring to a wire rack.
Tips for the Best Chocolate Crinkle Cookies
After making countless batches of these cookies (some perfect, some… learning experiences!), I’ve picked up tricks that make all the difference. Here’s how to take your chocolate crinkle cookies from good to absolutely irresistible:
Don’t skip the chill time – I know it’s tempting to rush, but that 2-hour rest in the fridge is non-negotiable. Cold dough holds its shape better and creates those iconic cracks. If you’re really in a pinch, 30 minutes in the freezer can work in emergencies!
Use a cookie scoop for even sizes – My #1 sanity-saver! A small scoop (about 1 tablespoon) gives you uniform cookies that bake evenly. No more guessing if your “tablespoon-sized” balls are actually the same size.
Double coat the powdered sugar – For that perfect snowy look, roll your dough balls once, let them sit for a minute, then roll again. The first coat gets absorbed slightly, and the second sticks beautifully.
Bake one test cookie first – Ovens vary, so try baking just one cookie to check your timing. If it spreads too much, your dough might need more chilling. If it’s dry, reduce the bake time by a minute.
Store them right – These stay fresh in an airtight container for 3-4 days (if they last that long!). For longer storage, freeze the baked cookies – they thaw in minutes at room temperature. Or freeze the dough balls to bake fresh whenever the craving hits!
Watch the baking time – Pull them out when they still look slightly underdone in the center. They’ll continue setting up as they cool, keeping that fudgy texture we all love.
Common Questions About Chocolate Crinkle Cookies
Over the years, I’ve gotten so many questions about these cookies from friends and family (and let’s be honest, from my own trial-and-error disasters!). Here are the answers to everything you might wonder about making perfect chocolate crinkle cookies:
Can I skip chilling the dough?
Oh honey, I wish! The chilling step is what gives these cookies their perfect texture. Cold dough holds its shape while baking, creating those gorgeous cracks. If you’re really pressed for time, 30 minutes in the freezer will help, but 2 hours in the fridge is ideal.
Why didn’t my cookies crack properly?
This breaks my heart every time! Usually it means either your dough wasn’t cold enough, or you didn’t use enough powdered sugar. The sugar coating dries out during baking, causing that beautiful cracking effect. Next time, try that double-coating trick I mentioned earlier!
Can I use butter instead of oil?
Technically yes, but I don’t recommend it. Oil keeps the cookies extra moist and gives them that wonderful fudgy texture. Butter will make them more cake-like. If you must substitute, use melted butter but expect a slightly different result.
My cookies came out too cakey – what happened?
This usually means you overmixed the batter or used too much flour. When combining wet and dry ingredients, mix just until everything comes together – a few small flour streaks are okay! Also make sure to measure your flour correctly by spooning it into the cup.
Can I make these gluten-free?
Absolutely! I’ve had great success using a 1:1 gluten-free flour blend. Just make sure it contains xanthan gum. The texture might be slightly different, but they’ll still be delicious. My gluten-free friends go crazy for them!
Help! My powdered sugar coating disappeared after baking
Don’t panic – this happens if the dough was too sticky when you rolled it. Next time, chill the dough longer and make sure your hands aren’t warm (I sometimes rinse them in cold water between rolling). That second coat of powdered sugar I mentioned really helps too!
Remember, even “imperfect” chocolate crinkle cookies still taste amazing. My first batch was downright ugly, but disappeared just as fast as the pretty ones!
Serving and Storing Chocolate Crinkle Cookies
Nothing beats biting into a chocolate crinkle cookie fresh from the oven when it’s still slightly warm and that powdered sugar coating melts on your tongue. I always sneak one (or two) straight off the baking sheet – chef’s privilege! But these cookies are actually at their very best about 30 minutes after baking, once they’ve cooled enough to set but still have that dreamy fudgy center.
For serving, I love piling them high on a pretty plate for maximum visual impact. The cracked snowy tops make them practically beg to be eaten! They’re perfect with a glass of cold milk for the kids or a cup of strong coffee for the adults. At holiday parties, I arrange them on a tiered stand – they disappear faster than I can refill it!
Storing them is a breeze too. Just pop them in an airtight container at room temperature where they’ll stay fresh for about 4 days (though in my house they never last that long). Pro tip: Place a slice of bread in the container – it keeps the cookies soft by absorbing any excess moisture. For longer storage, freeze the baked cookies in a single layer before transferring to a freezer bag. They’ll keep for up to 3 months and thaw in minutes at room temperature when the craving hits!
One of my favorite tricks? I often freeze half the dough balls before baking. That way I can pop just a few fresh cookies in the oven anytime guests drop by or when I need a quick chocolate fix. They bake up perfectly straight from frozen – just add an extra minute or two to the baking time.
Nutritional Information
Now, I’m no nutritionist (I’m just someone who really loves cookies!), but here’s the scoop on what’s in each of these chocolate crinkle beauties. Remember, these are estimates because let’s be real – my “tablespoon” of dough might be slightly more generous than yours!
Per cookie (based on 24 cookies per batch):
- Calories: About 120 (totally worth it)
- Sugar: 10g (that powdered sugar coating counts!)
- Fat: 5g (mostly from the oil that makes them so moist)
- Carbs: 18g (because happiness comes in carbohydrate form)
- Protein: 2g (thank you, eggs!)
A few important notes: These numbers can vary based on exactly how big you make your cookies (no judgment if yours are slightly bigger – I’ve been there!). Also, if you use different brands of ingredients or make substitutions, the nutritional info will change. I once made them with coconut oil instead of vegetable oil, and while delicious, the numbers were a bit different.
Honestly? When I’m enjoying one of these cookies fresh from the oven, the last thing on my mind is the nutrition label. But I know some folks like to keep track, so there you have it! Everything in moderation, right? (Though I can’t promise you’ll stop at just one…)
Final Thoughts
There you have it – my tried-and-true recipe for chocolate crinkle cookies that never fails to impress! I still get giddy every time I pull a batch from the oven and see those gorgeous cracks forming in the powdered sugar coating. These cookies have become my signature treat for everything from holiday parties to “just because” Tuesdays.
What I love most about this recipe is how it turns simple pantry ingredients into something truly magical. That first bite of rich, fudgy chocolate with the delicate powdered sugar melting on your tongue? Pure bliss. And watching friends’ faces light up when they try them? Even better.
I’d love to hear how your chocolate crinkle cookies turn out! Did your family go crazy for them like mine does? Did you discover any fun variations (I’m always looking for new ideas!)? Drop me a note in the comments or tag me on social media – nothing makes me happier than seeing your baking adventures. And remember, even if your first batch isn’t picture-perfect, they’ll still taste amazing. Trust me, I’ve made every mistake in the book!
Now grab that mixing bowl and get baking – your new favorite cookie awaits. Just don’t blame me when you find yourself making batch after batch… I warned you they’re addictive!
Print
Irresistible Chocolate Crinkle Cookies in 5 Easy Steps
- Total Time: 2 hours 27 minutes
- Yield: 24 cookies 1x
- Diet: Vegetarian
Description
Chocolate crinkle cookies are soft, fudgy chocolate cookies coated in powdered sugar.
Ingredients
- 1 cup all-purpose flour
- 1/2 cup unsweetened cocoa powder
- 1 tsp baking powder
- 1/4 tsp salt
- 3/4 cup granulated sugar
- 1/4 cup vegetable oil
- 2 large eggs
- 1 tsp vanilla extract
- 1/2 cup powdered sugar
Instructions
- Preheat oven to 350°F.
- Mix flour, cocoa powder, baking powder, and salt.
- Beat sugar, oil, eggs, and vanilla.
- Combine dry and wet ingredients.
- Chill dough for 2 hours.
- Roll dough into balls.
- Coat balls in powdered sugar.
- Place on baking sheet.
- Bake for 10-12 minutes.
Notes
- Dough must be chilled.
- Do not overbake.
- Store in airtight container.
- Prep Time: 15 minutes
- Cook Time: 12 minutes
- Category: Dessert
- Method: Baking
- Cuisine: American
Nutrition
- Serving Size: 1 cookie
- Calories: 120
- Sugar: 10g
- Sodium: 50mg
- Fat: 5g
- Saturated Fat: 1g
- Unsaturated Fat: 3g
- Trans Fat: 0g
- Carbohydrates: 18g
- Fiber: 1g
- Protein: 2g
- Cholesterol: 15mg


