
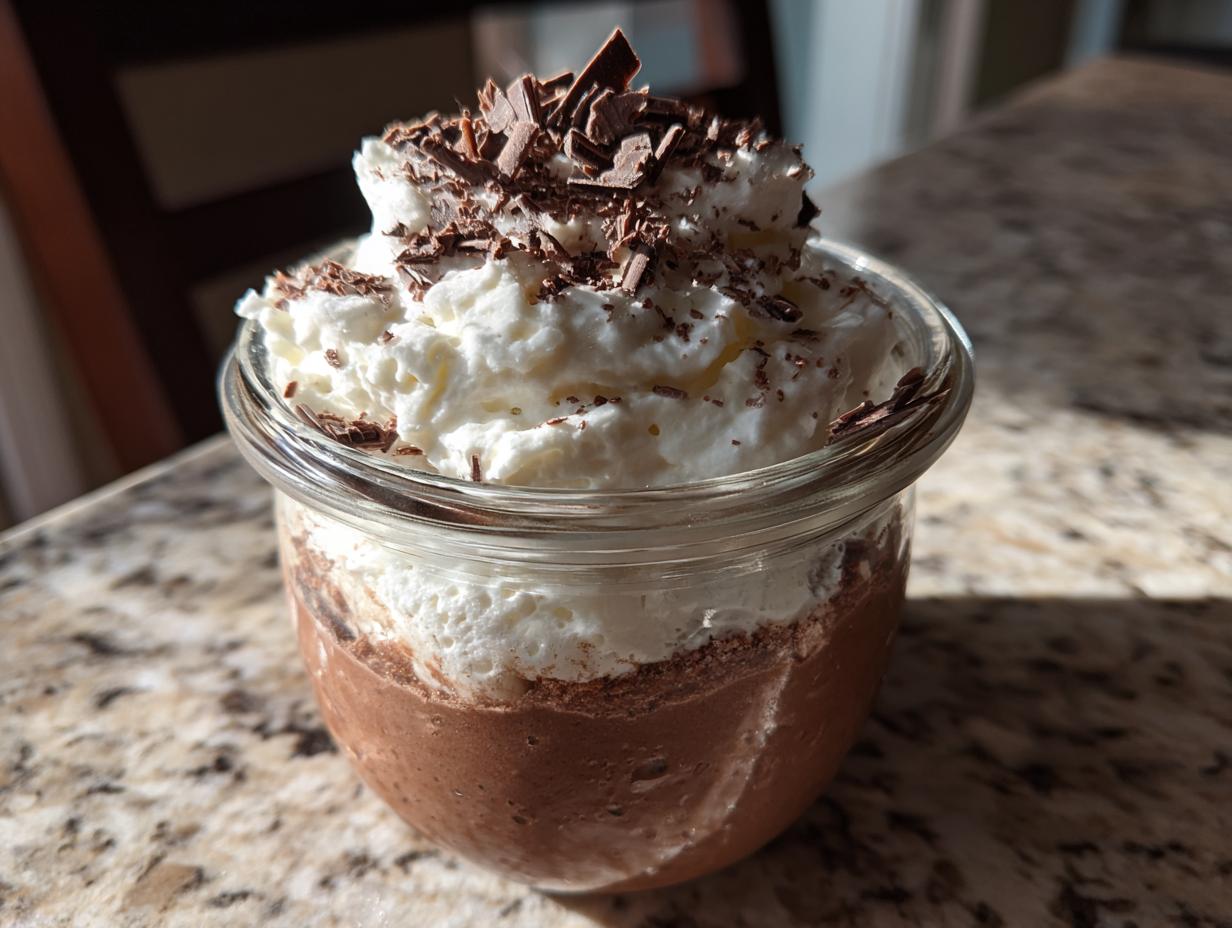
There’s something magical about curling up with a rich, creamy dessert when the weather turns chilly—and these decadent hot cocoa pudding parfaits in jars are my ultimate winter comfort food. I still remember the first time I made them on a snowy afternoon, craving something warm and chocolatey but wanting that perfect pudding texture. The result? Pure bliss in a jar! Layers of velvety cocoa pudding, fluffy whipped cream, and delicate chocolate shavings create a dessert that feels indulgent yet so simple to make. Whether you’re treating yourself or impressing guests, these little jars of joy will make any day feel special.
Why You’ll Love These Decadent Hot Cocoa Pudding Parfaits in Jars
Oh my gosh, these little jars of chocolate heaven are honestly life-changing—here’s why:
- Creamier than a hug: That silky pudding texture? It’s like drinking hot cocoa but with a spoon (and way more luxurious).
- Foolproof magic: Just whisk, stir, and layer—no fancy skills needed. Even my klutzy cousin couldn’t mess this up.
- Party superstar: Individual servings mean no messy slicing. Plus, they look so cute lined up on a tray!
- Instant mood booster: One bite of that chocolatey-cold creaminess, and suddenly your worst day gets 80% better.
Trust me, you’ll want to lick the jar clean—I definitely have.
Ingredients for Decadent Hot Cocoa Pudding Parfaits in Jars
Now, let’s talk ingredients—because using the right stuff makes all the difference between “meh” and “OMG!” Here’s what you’ll need for that perfect chocolatey bliss:
- 2 cups whole milk (don’t even think about skim—we want that rich, velvety texture!)
- 1/2 cup granulated sugar (pack it in there like you mean it)
- 1/4 cup unsweetened cocoa powder (sift it first—trust me, no one wants lumpy pudding)
- 3 tbsp cornstarch (this is our magic thickener)
- 1/4 tsp salt (just a pinch to make the chocolate sing)
- 1 tsp vanilla extract (go for the real stuff, not that artificial nonsense)
- 1/2 cup whipped cream (freshly whipped is best—I’ll show you my lazy hack later)
- 1/4 cup chocolate shavings (use a vegetable peeler on a chocolate bar—it’s oddly satisfying)
See? Nothing crazy—just simple, quality ingredients that turn into pure magic. Now grab your whisk and let’s get cooking!
Equipment You’ll Need
Okay, let’s raid your kitchen—here’s what you’ll need to whip up these dreamy parfaits:
- Medium saucepan (trust me, you don’t want pudding bubbling over!)
- Whisk (the hero that fights lumps)
- 4 glass jars (8 oz each) (mason jars work perfectly—bonus points if they’re cute)
- Measuring cups/spoons (eyeballing sugar is a dangerous game)
- Spatula (for scraping every last bit of pudding—waste not!)
- Mixing bowl (for that glorious whipped cream)
Optional but fun: Piping bag for fancy whipped cream swirls. Though honestly, I usually just dollop it with a spoon—no shame!
How to Make Decadent Hot Cocoa Pudding Parfaits in Jars
Alright, let’s dive into the fun part—turning these simple ingredients into little jars of chocolate heaven! Don’t worry, it’s easier than you think. Just follow these steps and you’ll be spoon-deep in pudding bliss before you know it.
Step 1: Prepare the Pudding Base
First things first—grab that saucepan and whisk! Combine the milk, sugar, cocoa powder, cornstarch, and salt. Now here’s my secret: whisk like your life depends on it at first to banish any cocoa lumps. I usually count to 60 while whisking—it’s oddly therapeutic. The mixture should look like chocolate milk gone fancy before you even turn on the heat.
Step 2: Cook Until Thickened
Turn the heat to medium and keep that whisk moving! After about 3 minutes, you’ll feel the mixture start to thicken—that’s when the magic happens. Keep stirring for 5-7 more minutes until it coats the back of your spoon like a velvety blanket. Whatever you do, don’t let it boil! Burnt pudding is a tragedy we’re avoiding today.
Step 3: Layer the Parfaits
Remove the pudding from heat and stir in that glorious vanilla. Now here’s where patience comes in—let it cool for about 15 minutes (stir occasionally to prevent skin). Meanwhile, whip your cream to soft peaks. Time to assemble! Alternate spoonfuls of pudding and whipped cream in your jars, ending with pudding. Pop them in the fridge for at least 2 hours—I know, the wait is torture!
Step 4: Garnish and Serve
The grand finale! Top each jar with a fluffy cloud of whipped cream and shower with chocolate shavings. These taste best chilled—the cold makes the chocolate flavor richer somehow. Pro tip: let them sit out for 5 minutes before serving so the pudding isn’t fridge-cold. Now dig in and try not to moan too loudly!
Tips for Perfect Decadent Hot Cocoa Pudding Parfaits in Jars
After making these parfaits more times than I can count (okay fine, I have a problem), here are my hard-won secrets for pudding perfection:
- Milk matters: Whole milk makes the creamiest pudding—I tried 2% once and cried actual tears over the texture difference.
- Chill your jars: Pop them in the freezer for 10 minutes before filling—it helps the layers stay picture-perfect.
- Cocoa power: Use dark cocoa powder for intense flavor, or mix half dark/half regular for balance.
- Skin prevention: Press plastic wrap directly on the pudding surface while cooling—no rubbery skin allowed!
- Sweet spot: Taste the pudding before layering—add extra sugar if needed, but remember the whipped cream adds sweetness too.
Follow these tips and you’ll have parfaits so good, people will think you went to pastry school!
Variations for Decadent Hot Cocoa Pudding Parfaits in Jars
Want to mix things up? Oh honey, I’ve played with this recipe more than a kid with a new toy! Here are my favorite twists:
- Peppermint party: Add 1/4 tsp peppermint extract to the pudding—instant candy cane vibes!
- Marshmallow magic: Swap whipped cream for fluffy marshmallow fluff (bonus points for toasting it!).
- Cookie crunch: Layer crushed Oreos or graham crackers between the pudding—texture heaven!
- Espresso kick: Stir in 1 tsp instant coffee to the dry ingredients for mocha lovers.
See? Endless ways to make these jars your own!
Serving Suggestions
Oh, the possibilities! These parfaits are delicious solo, but here’s how I love to fancy them up:
- Coffee date: Serve with a shot of espresso—the bitter coffee cuts through the sweetness perfectly.
- Minty fresh: Top with a sprig of mint for a pop of color and refreshing contrast.
- Caramel drizzle: Warm some caramel sauce and let it ooze down the sides—sheer decadence!
Pro tip: Add a tiny spoon for that cute, “dig-in” vibe!
Storage & Reheating
Here’s the beautiful thing about these parfaits—they actually get better after chilling overnight! Just pop a lid on each jar (or use plastic wrap) and they’ll keep happily in the fridge for up to 3 days. No freezing though—trust me, the texture turns weird and grainy. And while you could microwave one if you’re desperate for warm pudding, they’re honestly best enjoyed cold straight from the fridge. That chill makes the chocolate flavor richer somehow—like a frozen hot cocoa hug!
Nutrition Information
Okay, let’s be real—we’re not eating pudding parfaits for their health benefits, but here’s the scoop (pun intended!) on what’s in each jar. These numbers are estimates since ingredients vary, but per luscious 8-oz serving, you’re looking at:
- 280 calories (worth every single one!)
- 25g sugar (it’s dessert, not a salad—embrace the sweet life)
- 10g fat (that’s where the creamy magic comes from)
- 5g protein (milk power!)
- 2g fiber (thank you, cocoa powder)
Remember, these are rough guides—your exact numbers will dance a bit depending on your cocoa brand or how generously you pile on that whipped cream!
Frequently Asked Questions
I get asked about these parfaits all the time—here are the burning questions people keep tossing my way:
- “Can I use almond milk?” Sure! But heads up—it’ll be thinner and less creamy. For best results, use half almond milk, half coconut milk. And maybe add an extra teaspoon of cornstarch.
- “Make-ahead friendly?” Absolutely! They actually taste better after chilling overnight. Just don’t add the final whipped cream topping until serving time.
- “Pudding skin prevention?” My nemesis! Press plastic wrap directly onto the pudding surface while it cools. No skin, no fuss.
- “Can kids help make these?” Oh heck yes! Let them whisk the dry ingredients and layer the jars—just keep them away from the hot stove part.
- “Serving size flexibility?” Want mini desserts? Use 4-oz jars! Just reduce chilling time to 1 hour.
Still got questions? Slide into my DMs—I could talk pudding all day!
There you have it—your ticket to chocolate paradise! If you make these dreamy parfaits, I’d love to hear how they turned out. Snap a pic, tag me, or leave a comment—nothing makes me happier than seeing your pudding creations!
Print
Decadent Hot Cocoa Pudding Parfaits in Jars – 4 Layers of Bliss
- Total Time: 2 hours 20 mins
- Yield: 4 servings 1x
- Diet: Vegetarian
Description
A rich and creamy hot cocoa pudding layered in jars for a delightful dessert.
Ingredients
- 2 cups whole milk
- 1/2 cup granulated sugar
- 1/4 cup unsweetened cocoa powder
- 3 tbsp cornstarch
- 1/4 tsp salt
- 1 tsp vanilla extract
- 1/2 cup whipped cream
- 1/4 cup chocolate shavings
Instructions
- In a saucepan, whisk milk, sugar, cocoa powder, cornstarch, and salt.
- Cook over medium heat, stirring constantly, until thickened.
- Remove from heat and stir in vanilla extract.
- Let cool slightly, then layer pudding and whipped cream in jars.
- Top with chocolate shavings and serve chilled.
Notes
- Use high-quality cocoa for best flavor.
- Chill for at least 2 hours before serving.
- Adjust sugar to taste.
- Prep Time: 10 mins
- Cook Time: 10 mins
- Category: Dessert
- Method: Stovetop
- Cuisine: American
Nutrition
- Serving Size: 1 jar
- Calories: 280
- Sugar: 25g
- Sodium: 150mg
- Fat: 10g
- Saturated Fat: 6g
- Unsaturated Fat: 3g
- Trans Fat: 0g
- Carbohydrates: 40g
- Fiber: 2g
- Protein: 5g
- Cholesterol: 25mg


