
There’s something magical about the holidays that makes me want to bake – and nothing says “festive season” quite like the perfect chocolate peppermint cupcakes. That rich, fudgy chocolate paired with just the right touch of cool peppermint? Absolute perfection. I’ve been tweaking this recipe for years (ever since my first disastrous attempt where I may have gone overboard with the mint extract – oops!), and I’m thrilled to share my foolproof version with you.
What makes these chocolate peppermint cupcakes special is how simple they are to whip up, yet they always impress. No fancy equipment needed – just one bowl and a whisk! The secret’s in balancing those flavors so the mint enhances rather than overpowers the chocolate. Trust me, after one bite of these moist, minty delights, you’ll understand why they’ve become my most-requested holiday treat.
Why You’ll Love These Chocolate Peppermint Cupcakes
These aren’t just any cupcakes – they’re little bites of holiday magic that’ll have everyone asking for seconds. Here’s why they’ve become my go-to treat year after year:
- Effortless elegance: You probably have most ingredients in your pantry already, and they come together in one bowl – no mixer required!
- Perfectly balanced flavors: Just enough peppermint to make them festive without tasting like toothpaste (we’ve all been there).
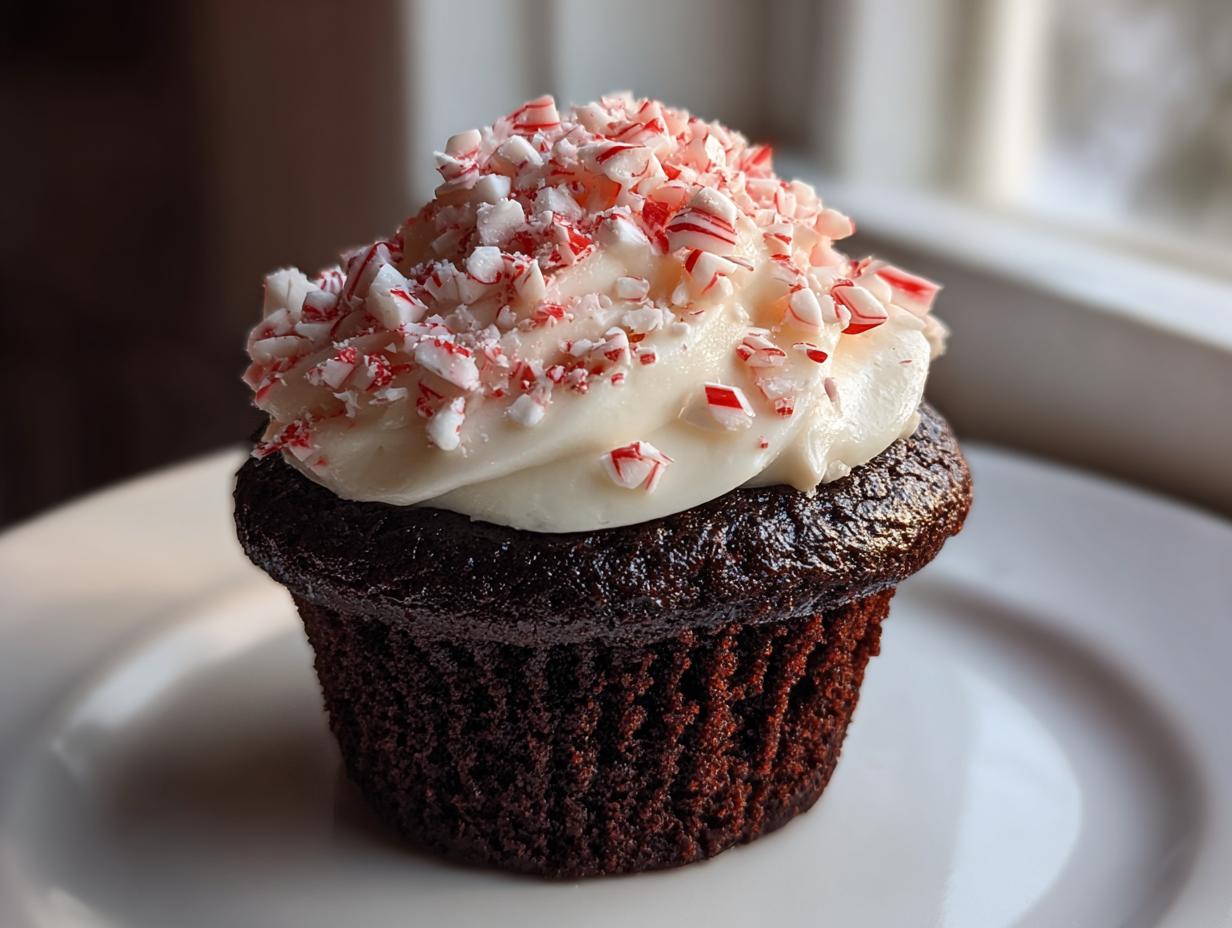
- Holiday showstoppers: Those pretty crushed peppermint tops make them look bakery-worthy with zero artistic skill needed.
- Crowd-pleasing versatility: Equally at home at cookie swaps, Christmas morning breakfast (don’t judge), or as edible gifts.
- Impossible to mess up: The vinegar reacts with baking soda to guarantee fluffy cupcakes every time – even if you’re not a baking pro.
- Better the next day: The flavors meld beautifully if you can resist eating them all immediately (good luck with that!).
Honestly? I start craving these the moment the first holiday decoration appears in stores. Once you try them, you’ll understand why they’ve earned a permanent spot in my holiday baking rotation.
Ingredients for Chocolate Peppermint Cupcakes
Here’s everything you’ll need to make these festive treats – and yes, I’m particular about some of these ingredients because they really do make all the difference! I’ve learned the hard way that substitutions can change the whole character of these cupcakes.
The Dry Team
- 1 1/2 cups all-purpose flour – Spoon and level it, don’t scoop! Too much flour makes dense cupcakes.
- 1/2 cup unsweetened cocoa powder – The darker the better for that rich chocolate flavor. My favorite is Dutch-processed.
- 1 cup granulated sugar – Regular white sugar works perfectly here.
- 1 tsp baking soda – Not powder! This reacts with the vinegar for lift.
- 1/2 tsp salt – Just enough to balance the sweetness.
The Wet Crew
- 1 cup water – Room temp is best, straight from the tap is fine.
- 1/3 cup vegetable oil – Can substitute melted coconut oil if you prefer.
- 1 tbsp white vinegar – Sounds weird, but trust me – this makes them super fluffy!
- 1 tsp vanilla extract – The good stuff, not imitation.
- 1/2 tsp peppermint extract – Not mint extract! Peppermint is sharper and cleaner tasting.
The Festive Finishers
- 1/2 cup crushed peppermint candies – Crush them yourself right before using – pre-crushed ones lose their sparkle.
A quick note about that peppermint extract – I learned my lesson after accidentally using a whole tablespoon once (my kitchen smelled like a dentist’s office for days). Half a teaspoon gives just the right holiday kiss of mint without overpowering the chocolate.
How to Make Chocolate Peppermint Cupcakes
Okay, let’s get baking! These chocolate peppermint cupcakes come together so easily – I swear they’re practically foolproof. Just follow these simple steps, and you’ll have perfect holiday treats in no time. The secret is in the order you mix everything – trust me, it matters!
Step 1: Prep and Mix Dry Ingredients
First things first – preheat that oven to 350°F (175°C). While it’s heating up, line your muffin tin with those festive cupcake liners you’ve been saving (this is their moment to shine!).
Now grab your biggest mixing bowl – we’re doing this all in one bowl because who needs extra dishes? Whisk together the flour, cocoa powder, sugar, baking soda, and salt. And I mean REALLY whisk – you want to see zero lumps of cocoa powder hiding in there. This aerates the dry ingredients and makes sure everything’s evenly distributed. I usually count to 30 while whisking – seems excessive until you bite into a cupcake with a pocket of undissolved baking soda (not pleasant!).
Step 2: Combine Wet Ingredients
Here’s where the magic happens! Make a little well in the center of your dry ingredients and pour in the water, oil, vinegar, and vanilla. Now, about that peppermint extract – add it drop by drop while mixing. I learned this the hard way after dumping it all in at once once and ending up with cupcakes that tasted like toothpaste (my family still teases me about that batch).
Mix everything together until the batter is smooth and glossy – it should look like melted chocolate. Don’t overmix though! Just stir until everything’s combined. You’ll notice it starts to bubble slightly from the vinegar reacting with the baking soda – that’s exactly what we want for fluffy cupcakes.
Step 3: Bake and Cool
Fill those cupcake liners about 2/3 full – I use an ice cream scoop for perfect portions every time. Pop them in the oven and set your timer for 18 minutes, but don’t wander off! Ovens vary, so start checking at 15 minutes.
The toothpick test is your best friend here – insert it into the center of a cupcake, and if it comes out with just a few moist crumbs (not wet batter), they’re done. The tops should spring back lightly when touched. Oh, and your kitchen will smell AMAZING at this point – that chocolate-peppermint aroma is pure holiday magic!
Here’s the hardest part – let them cool completely before frosting! I know, I know, it’s torture. But if you frost them warm, the frosting will melt right off. I usually transfer them to a wire rack after 5 minutes in the pan – this stops them from getting soggy bottoms.
Pro tip: If you’re impatient like me, you can speed up the cooling by popping them in the fridge for 15 minutes. Just don’t tell the baking purists I suggested that!
Tips for Perfect Chocolate Peppermint Cupcakes
After making these chocolate peppermint cupcakes more times than I can count (and yes, learning from plenty of mistakes along the way), I’ve picked up some game-changing tricks that’ll take yours from good to “oh-my-goodness-I-need-another-one” amazing.
Crush those candies at the last minute
I can’t tell you how many times I’ve pre-crushed my peppermint candies only to find them sad and sticky when it came time to decorate. Now I wait until right before topping the cupcakes – the difference is night and day! Toss them in a zip-top bag and whack them with a rolling pin (great stress reliever too). For extra sparkle, save some larger pieces to press into the frosting.
Peppermint extract is powerful stuff
That little bottle packs a punch! If you’re nervous about the mint flavor being too strong (been there), start with 1/4 teaspoon and taste the batter. You can always add more, but you can’t take it out! Remember – the flavor intensifies slightly while baking. My perfect balance is 1/2 teaspoon, but adjust to your taste.
The mixing sweet spot
Overmixing is the enemy of tender cupcakes. Once you add the wet ingredients to the dry, stir just until combined – a few small lumps are fine! They’ll disappear during baking. I count to 30 stirs max. The batter should look like thick chocolate milk when it’s ready.
Room temp ingredients matter
While the recipe is forgiving, using room temperature water and extracts helps everything incorporate smoothly. Cold liquids can make the oil solidify into little droplets in the batter – not the end of the world, but room temp gives more consistent results. I just set everything out 30 minutes before baking.
One last thing – don’t skip the vinegar! I know it sounds weird, but that chemical reaction with the baking soda is what gives these cupcakes their perfect dome and airy texture. Trust me on this one – it’s my secret weapon for foolproof baking.
Frosting and Decorating Ideas
Now for the fun part – making these chocolate peppermint cupcakes look as incredible as they taste! I’ve played around with so many decorating ideas over the years, and these are my absolute favorites that never fail to impress (even when I’m short on time).
The perfect frosting partners
You can’t go wrong with a classic vanilla buttercream – that sweet creaminess balances the rich chocolate and mint perfectly. My go-to is a simple mix of butter, powdered sugar, vanilla, and just a splash of milk. Want to take it up a notch? Add a tiny drop of peppermint extract to the frosting too – just enough to whisper “holidays” without shouting it.
If you’re a chocolate purist (no judgment here!), a rich chocolate ganache makes these cupcakes extra decadent. I melt equal parts chocolate chips and heavy cream, then let it cool until it’s spreadable. Pro tip: Add a pinch of instant coffee to bring out the chocolate flavor even more.
Getting fancy with piping
Don’t be intimidated by fancy piping! Even a simple star tip can create bakery-worthy swirls. I use a large open star tip and pipe tall swirls starting from the outside edge, working inward. The height makes them look professional, and those tall swirls hold more crushed peppermint on top!
No piping bags? No problem. A ziplock bag with the corner snipped off works in a pinch. Or go rustic – just spread the frosting with a butter knife and call it “homestyle charm.”
Peppermint candy magic
Those crushed peppermints aren’t just pretty – they add the most satisfying crunch! I sprinkle them on immediately after frosting so they stick. For special occasions, I’ll press a whole mini candy cane into each cupcake – instant holiday centerpiece!
Want extra sparkle? Mix some crushed candy with coarse sugar for a glittery effect. The contrast of smooth frosting and crunchy topping is what makes people keep coming back for “just one more.”
Remember – there’s no wrong way to decorate these! Whether you go all out with piping skills or keep it simple, that irresistible chocolate-peppermint combo will shine through. Just don’t be surprised when they disappear faster than you can say “holiday baking marathon!”
Storage and Serving Suggestions
Here’s everything you need to know about keeping your chocolate peppermint cupcakes fresh and serving them like a pro – because let’s be honest, these are too good to waste a single crumb!
Keeping them fresh
These cupcakes stay perfectly moist at room temperature for 2-3 days when stored in an airtight container. I line the container with paper towels to absorb any excess moisture – it prevents the bottoms from getting soggy. If you’ve frosted them, just make sure the frosting has set completely before storing.
Need them to last longer? You can freeze unfrosted cupcakes for up to 2 months! Wrap each one individually in plastic wrap, then pop them in a freezer bag. When you’re ready to serve, thaw at room temperature (about an hour) and frost as usual. The texture stays amazing – I always keep a stash in my freezer for unexpected holiday visitors.
Serving temperature matters
These cupcakes taste best at room temperature – the flavors really shine when they’re not too cold. If you’ve refrigerated them (maybe because of cream cheese frosting), let them sit out for 30 minutes before serving. That chill can mute both the chocolate and peppermint flavors.
Want to recreate that fresh-from-the-oven warmth? A quick 10-second zap in the microwave does wonders – just enough to take the chill off without melting the frosting. Perfect for when you need an instant holiday pick-me-up!
When to serve them
While these are obviously perfect for Christmas (I make triple batches in December!), don’t limit yourself to just the holidays. They’re fabulous for:
- Cookie exchanges (stand out from all the sugar cookies!)
- Winter birthday parties (who doesn’t love chocolate and mint?)
- Girls’ night in (pair with hot cocoa for ultimate coziness)
- Teacher appreciation gifts (bake them in festive liners)
- After-dinner treats with coffee (the mint makes them feel fancy)
Pro tip: If you’re serving them at a party, set out just half the batch at first. People always go back for seconds, and this way you can replenish with perfectly fresh cupcakes instead of sad, picked-over ones. I learned this trick after my first holiday party where all the cupcakes disappeared in 10 minutes flat!
One last thing – these cupcakes actually taste even better the next day as the flavors meld. So if you can resist, bake them a day ahead. But I won’t judge if you “quality test” one (or two) fresh out of the oven – it’s the baker’s prerogative!
Chocolate Peppermint Cupcakes FAQs
Over the years, I’ve gotten so many questions about these chocolate peppermint cupcakes – and I love helping bakers avoid the mistakes I’ve made! Here are the answers to the most common questions that pop up:
Can I use mint extract instead of peppermint?
Oh boy, let me tell you about the time I made this swap without thinking – big mistake! Peppermint extract has a cleaner, sharper flavor, while mint extract often contains spearmint, which gives a more toothpaste-y taste. If you must substitute, use half the amount of mint extract and taste the batter first. But really, splurge on the good peppermint extract – it makes all the difference!
How long do these cupcakes stay fresh?
Stored properly in an airtight container at room temperature, they’ll stay moist and delicious for 3 days. After that, they’re still edible but start losing that perfect texture. The crushed candy topping stays crunchy for about a day – another reason I wait to add it until right before serving. Want them to last longer? Freeze them (without frosting) for up to 2 months!
Can I make these cupcakes ahead of time?
Absolutely! In fact, I often bake them the day before because the flavors develop even more overnight. Just wait to frost and decorate until you’re ready to serve. The unfrosted cupcakes actually freeze beautifully too – I always keep a stash in my freezer for last-minute holiday emergencies (or cravings).
Why vinegar in cupcakes? That sounds weird!
I know, it seems strange until you understand the science! The vinegar reacts with the baking soda to create little air bubbles that make the cupcakes super light and fluffy. You won’t taste it at all – promise! I was skeptical too until I tried leaving it out once and ended up with dense little hockey pucks. Never again!
My cupcakes sunk in the middle – what went wrong?
Ah, the dreaded cupcake collapse! Usually this means either: a) the oven wasn’t hot enough when you put them in (always preheat!), b) you opened the oven door too early (resist the urge to peek before 15 minutes!), or c) the batter was overmixed. Next time, make sure your oven’s properly calibrated and only mix until the ingredients are just combined. And no peeking – set that timer and walk away!
Got more questions? I’m always happy to help troubleshoot – just drop them in the comments below. After dozens of batches (and a few hilarious failures), I’ve probably encountered every possible cupcake conundrum there is!
Nutritional Information
Let’s be real – we’re not eating chocolate peppermint cupcakes for the health benefits! But I know some folks like to keep track, so here’s the nutritional breakdown per cupcake (without frosting, because let’s be honest, that’s where things get really fun). Just remember – these values are estimates and can vary depending on your specific ingredients.
- Calories: 180
- Total Fat: 7g (1g saturated, 5g unsaturated)
- Cholesterol: 0mg
- Sodium: 150mg
- Total Carbohydrates: 30g
- Fiber: 2g
- Sugar: 18g
- Protein: 2g
A few things to note: The values go up if you add frosting (but who’s counting when it tastes this good?). Using coconut oil instead of vegetable oil changes the fat profile slightly. And if you’re watching sugar, you can reduce it by 1/4 cup – the peppermint still shines through!
Now that we’ve gotten the numbers out of the way… go enjoy your cupcake guilt-free! Life’s too short not to savor these little bites of holiday joy.
Final Thoughts
Well, there you have it – my absolute favorite chocolate peppermint cupcakes that never fail to disappear at parties! I hope you love making (and eating) them as much as I do. After all those batches I’ve baked over the years – some triumphs, some flops – this version is the one I keep coming back to every holiday season.
If you try them, I’d be over the moon to hear how they turned out for you! Did you use my vanilla buttercream or go for something different? Did you add extra peppermint (or, like me once upon a time, accidentally add too much)? Drop a comment below and let me know – baking is always more fun when we share our kitchen adventures.
And hey, if you snap a photo of your gorgeous creations, tag me! There’s nothing I love more than seeing your holiday baking masterpieces. Now go forth and fill your kitchen with that magical chocolate-peppermint aroma – I’m already craving another batch just thinking about it!
Print
Irresistible Chocolate Peppermint Cupcakes in Just 18 Minutes
- Total Time: 35 minutes
- Yield: 12 cupcakes 1x
- Diet: Vegetarian
Description
Delicious chocolate cupcakes with a refreshing peppermint twist, perfect for holidays or any celebration.
Ingredients
- 1 1/2 cups all-purpose flour
- 1/2 cup unsweetened cocoa powder
- 1 cup granulated sugar
- 1 tsp baking soda
- 1/2 tsp salt
- 1 cup water
- 1/3 cup vegetable oil
- 1 tbsp white vinegar
- 1 tsp vanilla extract
- 1/2 tsp peppermint extract
- 1/2 cup crushed peppermint candies (for topping)
Instructions
- Preheat oven to 350°F (175°C). Line a muffin tin with cupcake liners.
- Whisk flour, cocoa powder, sugar, baking soda, and salt in a large bowl.
- Add water, oil, vinegar, vanilla, and peppermint extract. Mix until smooth.
- Fill cupcake liners 2/3 full with batter.
- Bake for 18-20 minutes, or until a toothpick inserted comes out clean.
- Let cool completely before frosting.
- Top with your favorite frosting and crushed peppermint candies.
Notes
- Store cupcakes in an airtight container at room temperature for up to 3 days.
- For extra mint flavor, add a few drops of peppermint extract to your frosting.
- Crush peppermint candies just before topping to keep them fresh.
- Prep Time: 15 minutes
- Cook Time: 20 minutes
- Category: Dessert
- Method: Baking
- Cuisine: American
Nutrition
- Serving Size: 1 cupcake
- Calories: 180
- Sugar: 18g
- Sodium: 150mg
- Fat: 7g
- Saturated Fat: 1g
- Unsaturated Fat: 5g
- Trans Fat: 0g
- Carbohydrates: 30g
- Fiber: 2g
- Protein: 2g
- Cholesterol: 0mg


