
There’s something magical about the combination of chocolate and coconut – it’s like they were made for each other. These chocolate coconut bars have been my go-to treat for years, and I’m not exaggerating when I say they disappear faster than I can make them. The best part? They come together in about 30 minutes with ingredients you probably already have in your pantry.
I first made these bars for a family picnic years ago, and now they’re requested at every gathering. My cousin actually hides a few in her purse whenever I bring them – that’s how good they are! What makes them special is the perfect balance between chewy coconut-oat base and rich chocolate topping. They’re not too sweet, not too heavy, but absolutely impossible to resist.
What I love most about this recipe is how forgiving it is. Forget fancy techniques or special equipment – just mix, press, bake, and top with chocolate. Even my kids can make them (though they rarely last long enough to share). Whether you need a quick dessert for unexpected guests or just want something sweet with your afternoon coffee, these chocolate coconut bars never disappoint.

Why You’ll Love These Chocolate Coconut Bars
Oh, where do I even start? These bars are pure magic, and here’s why:
- Quick as a wink: From bowl to table in 30 minutes flat—perfect for when that sweet tooth hits hard.
- Pantry staples only: No fancy ingredients here! Just coconut, chocolate, and a few basics you likely have already.
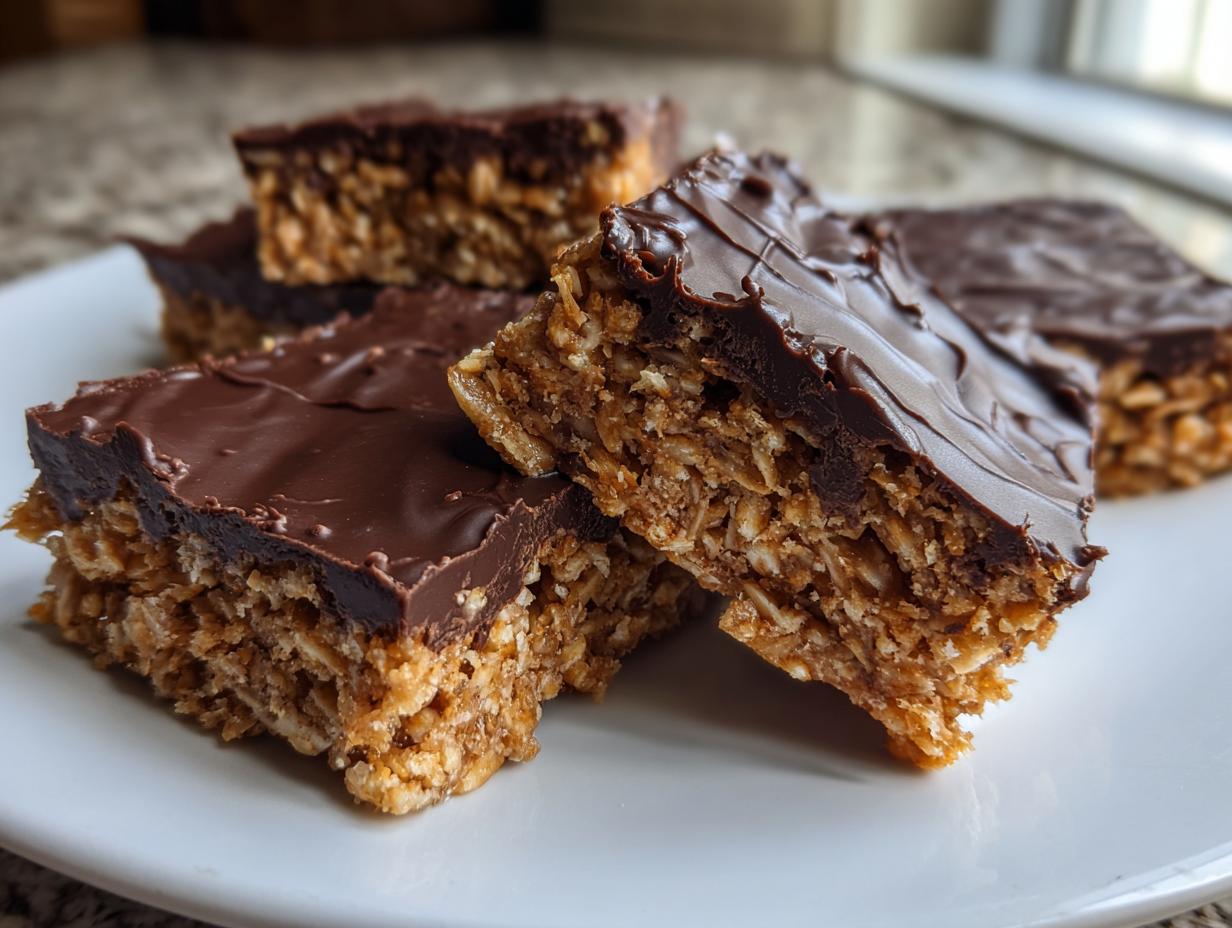
- That dreamy texture: Chewy base, crispy edges, and that luscious chocolate layer—it’s a symphony in every bite.
- Crowd-pleaser alert: My picky nephew and gourmet-foodie sister both go crazy for these. That’s saying something!
- Better than store-bought: Fresh, homemade goodness without any weird additives—just real, simple flavors that shine.
Trust me, once you try these, you’ll be hooked. I keep the recipe taped inside my cabinet because I make them so often! You can find more inspiration for delicious treats on Pinterest.
Chocolate Coconut Bars Ingredients
Here’s everything you’ll need to make these irresistible bars – I promise it’s all simple stuff you might already have! The magic happens when these basic ingredients come together just right.
- 1 cup shredded sweetened coconut – Don’t skimp here! The sweetened kind gives that perfect chewiness we love.
- 1/2 cup semi-sweet chocolate chips – I like Ghirardelli, but any good quality brand works. Dark chocolate chips are great too if you prefer something less sweet.
- 1/4 cup unsalted butter, melted – Real butter makes all the difference. I always use unsalted so I can control the saltiness.
- 1 cup old-fashioned oats – Not instant! The thicker texture holds up better in the bars.
- 1/4 cup honey – This binds everything together beautifully. Maple syrup works in a pinch if you’re out.
- 1 teaspoon vanilla extract – Pure vanilla, please! It adds that warm, cozy flavor.
- Pinch of salt – Just a tiny bit to balance all the sweetness.

See? Nothing fancy – just good, honest ingredients that create something magical together. Now let’s get baking!
Necessary Equipment
Grab just a few basic tools – nothing fancy required! You’ll need:
- An 8×8 inch baking pan – the perfect size for thick, chewy bars
- Parchment paper – makes cleanup a breeze and helps lift the bars out
- Medium mixing bowl – for bringing all those goodies together
- Small saucepan – to melt our butter-honey mixture
- Spatula – my trusty sidekick for scraping every last bit of batter
That’s it! Now let’s make some magic happen.
How To Make Chocolate Coconut Bars
Alright, let’s get to the fun part – making these irresistible bars! Don’t worry, it’s easier than you think. I’ve broken it down into simple steps so you can’t go wrong. Just follow along and soon you’ll be enjoying that perfect chocolate-coconut combo!
Prepare Your Pan and Oven
First things first – preheat that oven to 350°F (175°C). While it’s warming up, grab your 8×8 inch pan and line it with parchment paper. Here’s my trick: leave some overhang on the sides so you can lift the whole slab out later – makes cutting so much easier! Just press the paper into the corners nice and snug.
Combine the Dry Ingredients
Now, grab your medium mixing bowl and toss in that gorgeous shredded coconut, the hearty oats, and that tiny pinch of salt. Give it all a good stir with a fork until everything’s evenly mixed. I like to take a moment to inhale that sweet coconut aroma – gets me excited for what’s coming!
Create the Wet Mixture
Time to melt some magic! In your small saucepan over low heat, combine the butter and honey. Stir gently until they’re completely melted together and looking glossy. Remove from heat and stir in that vanilla extract – oh, that heavenly smell! Let this mixture cool just slightly while you prepare the next step.
Mix and Press the Base
Here’s where it all comes together! Pour your warm butter-honey mixture over the dry ingredients. Mix it up until every oat and coconut flake is coated and happy. Now dump this sticky goodness into your prepared pan. Here’s the important part – press it down FIRMLY with your hands or the back of a spoon. Really pack it in there – this gives the bars their perfect chewy texture.
Bake and Cool the Bars
Pop that pan into your preheated oven for exactly 20 minutes. You’ll know they’re ready when the edges turn golden brown and your kitchen smells like heaven. Take them out and here’s where patience comes in – let them cool COMPLETELY in the pan. I know it’s hard to wait, but trust me, rushing this step leads to crumbly bars!
Add the Chocolate Topping
The grand finale! Melt your chocolate chips (I do 30-second bursts in the microwave, stirring between each). Once smooth, pour it over your cooled base and spread evenly with a spatula. Now walk away – let that chocolate set completely before cutting. This is the hardest part, but so worth it when you get those clean, perfect squares!

See? Easy peasy! Now you’ve got a batch of homemade chocolate coconut bars that’ll impress everyone. Just try not to eat them all at once!
Expert Tips for Perfect Chocolate Coconut Bars
After making these bars more times than I can count, I’ve picked up some tricks to make them absolutely foolproof. First – toast that coconut! Just 5 minutes in a dry skillet transforms it into golden, nutty perfection. The flavor difference is unbelievable.
When it’s cutting time, run your knife under hot water and wipe dry between slices. This gives you those picture-perfect clean edges every time. And please – I beg you – wait until that base is completely cool before adding chocolate! I learned this the hard way after one melty, messy batch.
Oh, and if your chocolate starts to set too fast while spreading? Just pop the pan back in the warm (but turned off) oven for 30 seconds to soften it up again. Works like a charm!
Ingredient Notes and Substitutions
Don’t sweat it if you’re missing an ingredient – this recipe is super flexible! Here are my tried-and-true swaps that still give amazing results:
- Out of honey? Maple syrup works beautifully and adds a lovely depth. Agave nectar does the trick too, though the bars might be slightly softer.
- Dairy-free? Coconut oil or vegan butter substitutes work perfectly for the melted butter. I’ve even used almond butter in a pinch – just reduce the honey slightly since it’s sweeter.
- Chocolate preferences? Dark chocolate chips make these bars extra sophisticated (my personal favorite!), while milk chocolate creates a sweeter treat. White chocolate? Go for it!
- Coconut variations: Unsweetened coconut works if you prefer less sweetness – just add an extra tablespoon of honey. Desiccated coconut can substitute in equal amounts too.
The beauty of these bars is how adaptable they are – make them your own!
Storing and Freezing Chocolate Coconut Bars
Okay, let’s talk about keeping these beauties fresh – if they last long enough to store, that is! I like to keep mine in an airtight container at room temperature. They’ll stay perfect for up to 5 days this way, though in my house they rarely make it past day 2. The secret? Slide a piece of parchment between layers if you’re stacking them – keeps that chocolate topping from sticking.
For longer storage (why didn’t I think of this sooner?), these bars freeze like a dream! Just wrap individual squares tightly in plastic wrap, then pop them in a freezer bag for up to 3 months. When that craving hits, let them thaw at room temperature for about 30 minutes – or be like me and nibble them straight from the freezer for an icy chocolate-coconut treat!
Chocolate Coconut Bars Nutritional Information
Now, I’m no nutritionist, but here’s the deal – these bars are treats, plain and simple! Keep in mind that nutritional values will vary depending on the specific brands and types of ingredients you use. That said, they’re made with real, wholesome ingredients, so you’re already winning compared to store-bought sweets. Enjoy them in moderation – or don’t, I won’t judge!
Frequently Asked Questions
Can I use desiccated coconut instead of shredded?
Absolutely! Desiccated coconut works fine, but since it’s drier, your bars might be slightly less chewy. I sometimes add an extra tablespoon of honey to compensate. Either way, you’ll still get that fantastic coconut flavor we all love.
How can I make these gluten-free?
Easy peasy! Just swap the regular oats for certified gluten-free oats. Everything else in the recipe is naturally gluten-free, so you’re good to go. My gluten-sensitive aunt swears by this version – she says they’re even better than the original!
Why did my chocolate topping crack when I cut the bars?
Oh, I’ve been there! This usually happens if the chocolate sets too fast or the base wasn’t completely cool. Next time, try letting the chocolate set at room temperature instead of refrigerating. If it’s chilly in your kitchen, a quick zap in the microwave (5 seconds!) before cutting helps too.
Can I double this recipe?
You bet! Just use a 9×13 inch pan instead. The baking time might need an extra 5 minutes – watch for those golden edges. I always make a double batch for parties because they disappear so fast!
Share Your Chocolate Coconut Bars
I’d love to hear how your bars turned out! Snap a pic of your chocolate coconut creation and tag me – nothing makes me happier than seeing your kitchen successes. And if you loved these as much as we do, drop a quick rating below. Happy baking, friends!
Print
30-Minute Chocolate Coconut Bars That Disappear Instantly
- Total Time: 30 minutes
- Yield: 12 bars 1x
- Diet: Vegetarian
Description
A delicious and easy-to-make dessert combining chocolate and coconut flavors in a chewy bar form.
Ingredients
- 1 cup shredded coconut
- 1/2 cup chocolate chips
- 1/4 cup honey
- 1/4 cup butter
- 1 tsp vanilla extract
- 1 cup oats
- Pinch of salt
Instructions
- Preheat oven to 350°F (175°C).
- Mix shredded coconut, oats, and salt in a bowl.
- Melt butter and honey together, then stir in vanilla extract.
- Combine wet and dry ingredients.
- Press mixture into a lined baking pan.
- Bake for 20 minutes.
- Melt chocolate chips and spread over cooled bars.
- Cut into squares once chocolate sets.
Notes
- Store in an airtight container for up to 5 days.
- For extra crunch, toast the coconut before mixing.
- Use dark chocolate for a richer taste.
- Prep Time: 10 minutes
- Cook Time: 20 minutes
- Category: Dessert
- Method: Baking
- Cuisine: American
Nutrition
- Serving Size: 1 bar
- Calories: 180
- Sugar: 12g
- Sodium: 50mg
- Fat: 10g
- Saturated Fat: 6g
- Unsaturated Fat: 3g
- Trans Fat: 0g
- Carbohydrates: 20g
- Fiber: 2g
- Protein: 2g
- Cholesterol: 10mg


