
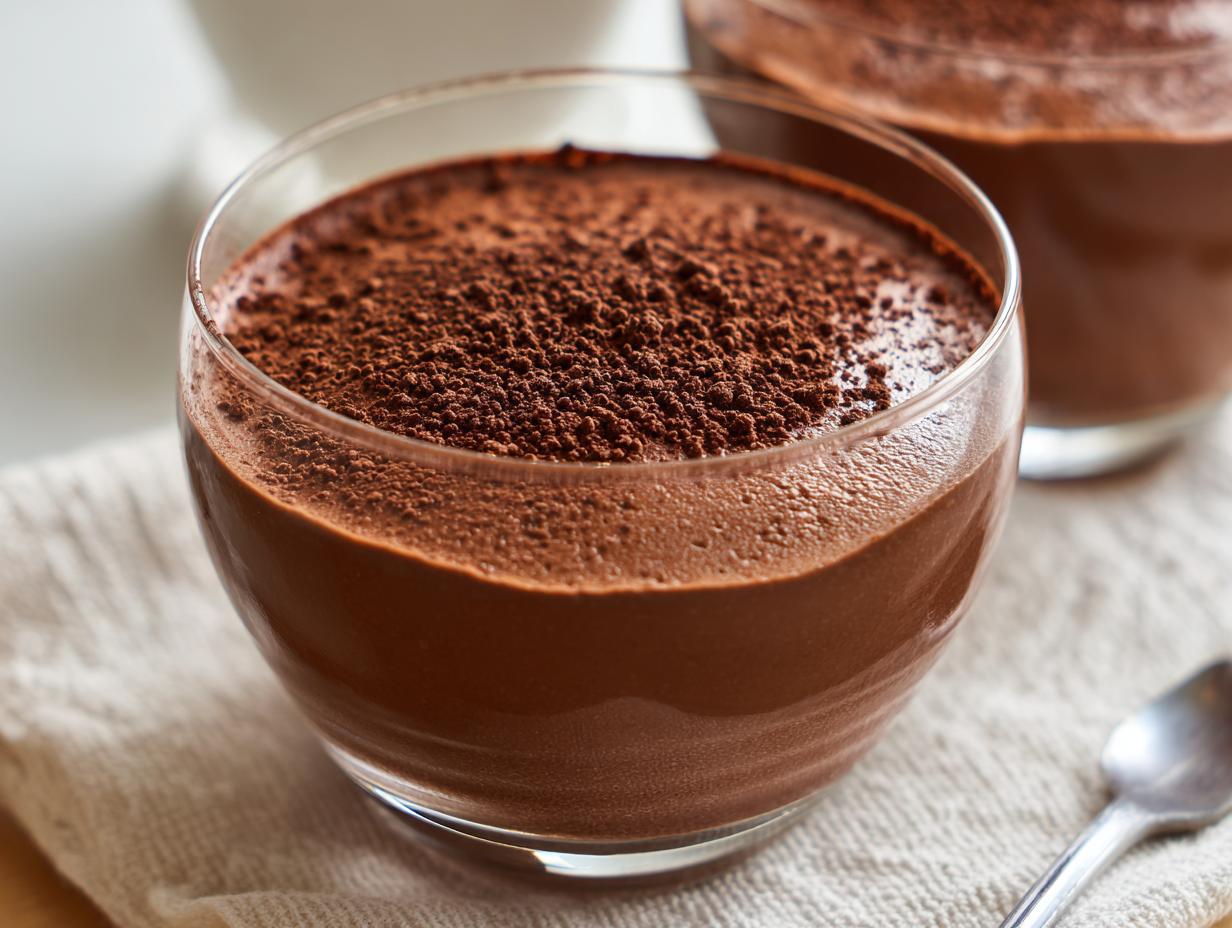
There’s something magical about homemade chocolate pudding that takes me right back to my grandma’s kitchen. That first spoonful of rich, velvety smoothness is pure comfort in a bowl – way better than anything from a box! I’ve been perfecting this recipe for years (and let’s just say I’ve eaten enough pudding to qualify as an expert). What makes this version special? It’s incredibly simple with just pantry staples, yet tastes luxurious. The secret is in how the cocoa powder blooms when cooked slowly, creating deep chocolate flavor without being overly sweet. Trust me, once you try this, you’ll never go back to store-bought!
Why You’ll Love This Chocolate Pudding
This isn’t just any chocolate pudding—it’s the kind that makes you close your eyes and savor every bite. Here’s why it’s a forever favorite:
- Creamy dreaminess: Whisked slowly on the stovetop, it sets into a silky texture that’s thick enough to cling to your spoon (no jiggly, sad puddings here!)
- Pantry superhero: Cocoa powder, sugar, and cornstarch—you probably have everything already. No fancy chocolate bars required!
- Quick comfort: Ready in under 10 minutes of active cooking (though I won’t judge if you eat it slightly warm like I sometimes do).
- Your sweetness, your rules: Prefer dark chocolate intensity? Reduce the sugar by a tablespoon. Want it extra indulgent? Add a handful of chocolate chips while it’s still warm.
Pro tip: The vanilla and butter stirred in at the end? That’s what makes people ask, “Wait, you made this yourself?”
Ingredients for Chocolate Pudding
Okay, let’s talk chocolate pudding magic – it all starts with these simple ingredients. You’ll notice I’m pretty specific about measurements and types here because (trust me) it makes all the difference in getting that perfect silky texture. Here’s what you’ll need:
- 1/2 cup granulated sugar – Not packed, just gently spooned into the measuring cup. This gives just the right sweetness without overpowering the chocolate.
- 1/4 cup unsweetened cocoa powder – My secret weapon! Regular cocoa works great, but if you want that deep, dark chocolate flavor, spring for the good stuff like Dutch-process. Just don’t use hot chocolate mix – learned that the hard way!
- 3 tablespoons cornstarch – This is what gives our pudding its luxurious thickness. Make sure it’s fresh (if it’s been in your pantry since last Christmas, time for a new box).
- 1/4 teaspoon salt – Don’t skip this! It balances all the sweetness and makes the chocolate taste… well, more chocolatey.
- 2 3/4 cups whole milk – Yes, whole milk is key here. The extra fat means extra creaminess, though I’ve been known to use half-and-half when feeling indulgent.
- 2 tablespoons unsalted butter – Softened to room temperature so it melts right in and gives that glossy finish.
- 1 teaspoon vanilla extract – The real stuff, please! That artificial vanilla just doesn’t do justice to our beautiful pudding.
See? Nothing weird or complicated – just honest ingredients that work together to create something magical. Now let’s get whisking!
Equipment You’ll Need
You won’t need any fancy gadgets for this chocolate pudding – just grab these kitchen basics:
- A medium saucepan – Not too big, not too small (about 2 quarts is perfect)
- A trusty whisk – Say no to lumps with some good old-fashioned elbow grease!
- Measuring cups & spoons – Precision matters when we’re balancing that cocoa-sugar ratio
- Serving dishes – Ramekins, mugs, or one big bowl – whatever makes you happiest!
That’s it! Now let’s make some pudding magic.
How to Make Chocolate Pudding
Alright, let’s get cooking! This is where the magic happens – turning simple ingredients into that dreamy, spoonable chocolate heaven. Follow these steps carefully, and you’ll be rewarded with the creamiest pudding imaginable.
Whisking Dry Ingredients
First things first – grab that medium saucepan (no heat yet!) and let’s make friends with our dry ingredients. Here’s my foolproof method:
- Whisk together the sugar, cocoa powder, cornstarch and salt until fully combined – I mean really whisk it. You shouldn’t see any streaks of white powder.
- Break up any cocoa clumps by pressing them against the side of the pan with your whisk. Those stubborn little bits can turn into unpleasant surprises later!
Pro tip: If you’re extra cautious like me, you can sift the cocoa and cornstarch together first. But honestly? A vigorous whisking works just fine.
Cooking the Mixture
Now for the active part – this is where your arm gets a workout!
- Gradually pour in the milk while whisking constantly. Start with just a little to make a paste, then add the rest in a steady stream. This prevents lumps better than anything!
- Turn the heat to medium and keep that whisk moving. I like to switch between a figure-8 motion and scraping the edges of the pan.
- After about 5-7 minutes, you’ll see the magic happen – the mixture will thicken noticeably and start bubbling with big, lazy bubbles. That’s your cue to keep cooking for exactly 1 more minute (set a timer!) while still stirring.
Warning: Don’t be tempted to crank up the heat – patience gives us smooth pudding, while rushing gives us scorched pans (been there!).
Adding Butter and Vanilla
We’re almost there! Here’s how to finish like a pro:
- Pull the pan off the heat immediately after that final minute of cooking.
- Drop in the butter and vanilla, then whisk vigorously until the butter melts completely and the pudding becomes gloriously shiny.
- Taste test time! Want more vanilla? Add another 1/4 teaspoon. Too thick? A splash of milk will fix it.
This is when my kitchen smells like a chocolate factory – try not to eat it all with a spoon right then (no promises though).
Chilling the Pudding
Now for the hardest part – waiting!
- Pour the pudding into your serving dishes (I love using vintage teacups for this).
- Press plastic wrap directly onto the surface to prevent that weird skin from forming (unless you’re into that texture – no judgment!).
- Chill for at least 2 hours, though overnight is even better. The pudding continues thickening as it cools.
I know, I know – the waiting is torture. But trust me, that first cold, creamy spoonful will be worth every minute!

Tips for Perfect Chocolate Pudding
After making this recipe more times than I can count, I’ve picked up some secrets that take chocolate pudding from good to “wow!” Here’s what I’ve learned:
- Sift your cocoa powder – Even with vigorous whisking, those tiny clumps can sneak in. A quick sift ensures ultra-smooth results every time.
- Whole milk matters – Skim milk makes sad, watery pudding. The fat in whole milk gives that luxurious mouthfeel we’re after.
- Watch the clock – That final minute of simmering is crucial, but overcooking makes pudding rubbery. Set a timer!
- Lumpy emergency? Strain it! Pour through a fine mesh sieve while still warm – nobody will ever know.
- Too thin? Chill it first! Pudding thickens as it cools. If it’s still runny after 2 hours, whisk in 1/2 tsp more cornstarch dissolved in milk and reheat gently.
Remember: The pudding will continue thickening in the fridge, so don’t panic if it seems a bit loose when you pour it into dishes!
Variations of Chocolate Pudding
One of my favorite things about this recipe? How easily you can dress it up or change it completely! Here are some delicious twists I’ve tried over the years:
- Coffee kick: Add 1/2 teaspoon espresso powder to the dry ingredients – it makes the chocolate taste deeper without being coffee-flavored
- Mint chocolate: Swap vanilla extract for peppermint extract (just 1/2 teaspoon – that stuff is strong!)
- Dairy-free delight: Use full-fat coconut milk or almond milk instead of dairy milk (the texture will be slightly looser but just as tasty)
- Fancy finish: Top with homemade whipped cream and chocolate shavings – instant dessert upgrade!
The possibilities are endless – play around and make it your own! You can find more inspiration on Pinterest.
Serving Suggestions
Now for the fun part – dressing up your masterpiece! My favorite ways to serve this chocolate pudding:
- Top with a cloud of freshly whipped cream and some raspberries for that perfect tart-sweet contrast
- Crush some chocolate sandwich cookies over the top for crunch (I won’t tell if you sneak extra)
- Drizzle with caramel sauce and sprinkle sea salt flakes for a grown-up twist
- Keep it classic with just a dusting of cocoa powder – sometimes simple is best!
Honestly? It’s incredible straight from the fridge with just a spoon too.
Storing and Reheating
Here’s the scoop on keeping your chocolate pudding perfect (if there’s any left to store!):
- Storage secret: Press plastic wrap directly on the surface before covering with a lid. This keeps it creamy for up to 3 days in the fridge.
- Reheating trick: If you prefer warm pudding, microwave in 15-second bursts, stirring between each. Add a splash of milk if it thickens too much.
- Freezing? Not recommended – the texture gets grainy when thawed. But honestly, mine never lasts long enough to freeze!
Pro tip: The pudding actually tastes richer on day two as the flavors meld. If you can wait!
Nutritional Information
Now, I’m no nutritionist, but I do believe in balance – enjoying treats while knowing what’s in them! Here’s the general scoop on our chocolate pudding’s nutrition (but remember, these are just estimates):
- This pudding gets its richness from quality ingredients like whole milk and real butter – that means it’s got some natural fats that make it satisfying
- The cocoa powder packs antioxidants (I’m choosing to believe this makes it practically health food!)
- Portion size matters – those cute little ramekins help keep servings reasonable
Important note: Exact numbers vary based on your specific ingredients and how you portion it. Using Dutch-process cocoa? Different milk fat percentages? Your results will differ slightly from mine. The beauty of homemade is you control exactly what goes in!
For me, it’s all about savoring each spoonful of this chocolatey goodness – no guilt, just pure enjoyment of something made with care and love.
Chocolate Pudding FAQs
I’ve gotten so many great questions about this recipe over the years – here are the ones that pop up most often with my tried-and-true answers:
Can I use Dutch-process cocoa powder?
Absolutely! It’ll give your pudding a deeper, darker chocolate flavor that’s incredible. Just stick to the same measurement (1/4 cup) since the acidity difference doesn’t matter in this recipe like it might in baked goods.
Help! My pudding turned out grainy – what went wrong?
Don’t panic! This usually happens if the cornstarch wasn’t fully dissolved before cooking. Next time, make sure to whisk your dry ingredients thoroughly with a bit of milk first to form a smooth paste. For now? Strain the warm pudding through a fine mesh sieve – it’ll save the texture!
Is skim milk okay if that’s all I have?
You can use it, but the pudding won’t be nearly as creamy. Whole milk’s extra fat gives that luxurious mouthfeel we love. If you must use skim, try adding an extra tablespoon of butter at the end to compensate.
Why does my pudding have lumps?
Two likely culprits: 1) Not whisking constantly while cooking (those edges can sneakily thicken first), or 2) Adding all the milk at once instead of gradually. Both are easy fixes for next time!
Can I make this ahead for a party?
Yes! In fact, I think it tastes even better after chilling overnight. Just remember to press plastic wrap directly on the surface before refrigerating to prevent that skin from forming (unless you’re into that – some people love it!).
Got more questions? Try this recipe and share your results in the comments!
Print
“10-Minute Chocolate Pudding Recipe – Rich & Creamy Bliss”
- Total Time: 2 hours 20 minutes
- Yield: 4 servings 1x
- Diet: Vegetarian
Description
A rich and creamy chocolate pudding that’s easy to make at home.
Ingredients
- 1/2 cup granulated sugar
- 1/4 cup unsweetened cocoa powder
- 3 tablespoons cornstarch
- 1/4 teaspoon salt
- 2 3/4 cups whole milk
- 2 tablespoons unsalted butter
- 1 teaspoon vanilla extract
Instructions
- In a medium saucepan, whisk together sugar, cocoa powder, cornstarch, and salt.
- Gradually whisk in milk until smooth.
- Cook over medium heat, stirring constantly, until the mixture thickens and boils.
- Reduce heat and simmer for 1 minute, still stirring.
- Remove from heat and stir in butter and vanilla.
- Pour into serving dishes and chill for at least 2 hours before serving.
Notes
- For a thicker pudding, increase cornstarch by 1 tablespoon.
- Use dark cocoa powder for a deeper chocolate flavor.
- Store covered in the refrigerator for up to 3 days.
- Prep Time: 10 minutes
- Cook Time: 10 minutes
- Category: Dessert
- Method: Stovetop
- Cuisine: American
Nutrition
- Serving Size: 1/2 cup
- Calories: 220
- Sugar: 25g
- Sodium: 150mg
- Fat: 8g
- Saturated Fat: 5g
- Unsaturated Fat: 2g
- Trans Fat: 0g
- Carbohydrates: 35g
- Fiber: 2g
- Protein: 5g
- Cholesterol: 20mg


