
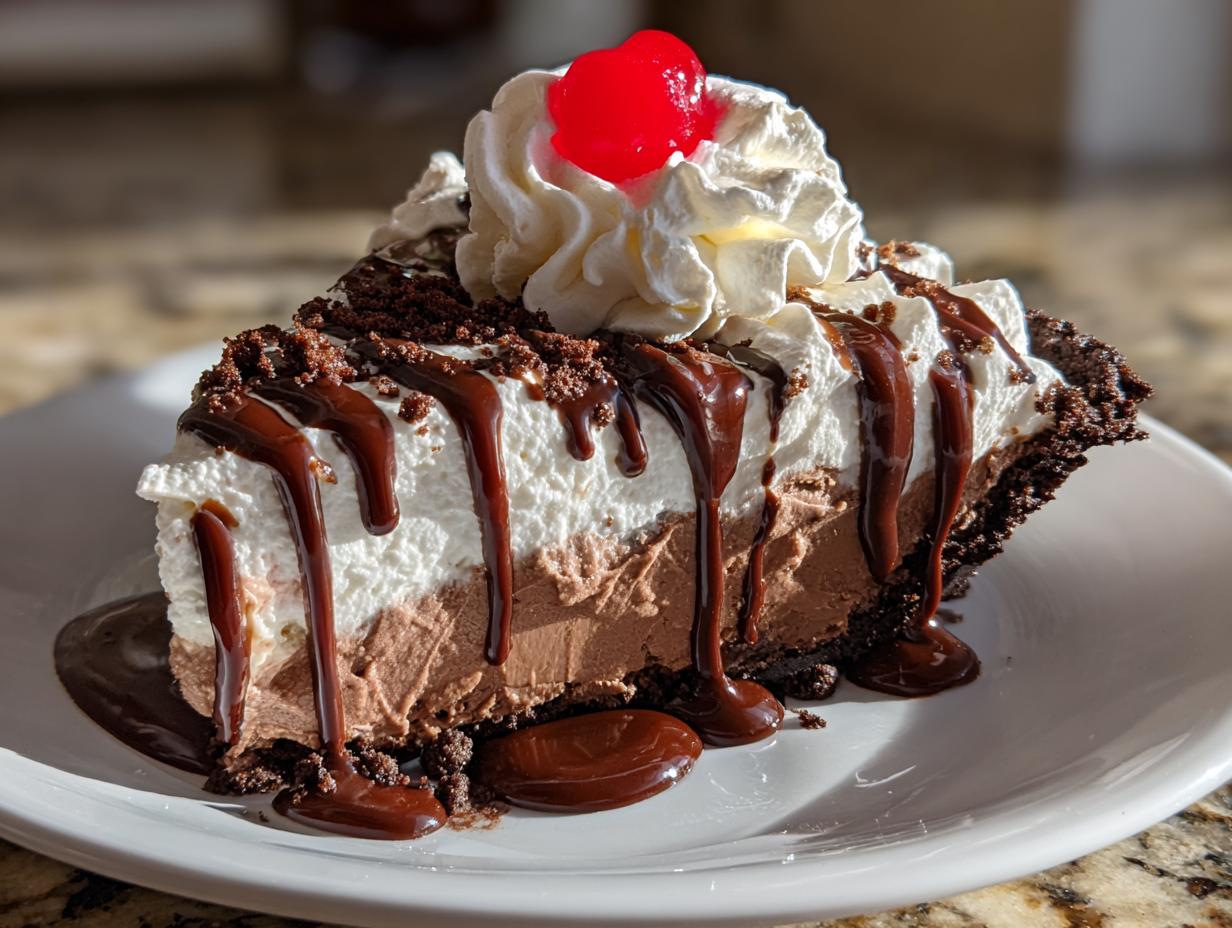
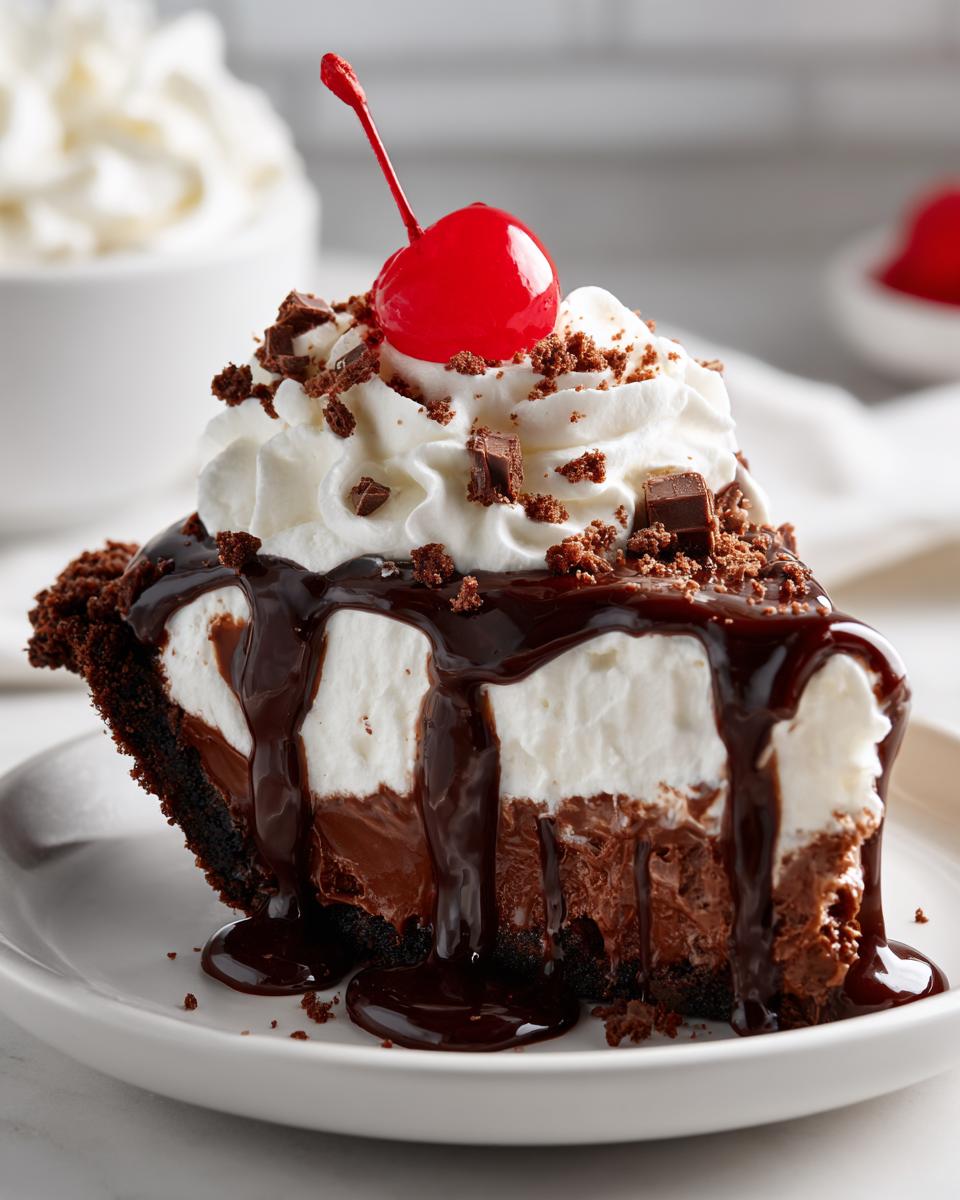
You know that feeling when you take a bite of something and suddenly you’re 10 years old again? That’s exactly what happens with my Nostalgic Chocolate Fudge Sundae Pie. It’s like your favorite ice cream parlor dessert got all dressed up in pie form! I first made this for my niece’s birthday, and now she begs for it every summer – just like I used to beg my mom for chocolate sundaes at the diner. The best part? It comes together in minutes with simple ingredients, but tastes like you spent hours in the kitchen. One bite of that rich fudge and fluffy whipped cream layers, and I swear you’ll hear the jukebox playing in the background.
Why You’ll Love This Nostalgic Chocolate Fudge Sundae Pie
This pie is pure magic – here’s why:
- Effortless elegance: No oven required! Just layer, chill, and wow your crowd with a dessert that looks fancy but takes 15 minutes of active work.
- That classic taste: Every bite hits all the right notes – silky fudge, pillowy cream, and that crisp cookie crust just like your childhood ice cream shop’s sundae bowls.
- Play with it: Toss in nuts, swap fudge for caramel, or add banana slices between layers. It’s your diner dream, customized!
- Secret weapon: Stays perfect in the fridge for days (if it lasts that long). Midnight snack? Don’t mind if I do.
Ingredients for Nostalgic Chocolate Fudge Sundae Pie
Gather these simple ingredients – most might already be in your pantry! The magic is in how we combine them:
- 1 pre-made chocolate cookie crust (the kind that comes in those foil pans – no shame!)
- 1 cup heavy cream, chilled (cold is crucial for whipping!)
- ½ cup powdered sugar, packed lightly
- 1 tsp vanilla extract (the good stuff if you’ve got it)
- 1 cup chocolate fudge sauce (more if you’re feeling indulgent)
- ½ cup chopped nuts (walnuts or pecans work great – optional but recommended)
- Whipped cream for topping (the spray can kind is totally fine here)
- Maraschino cherries (because what’s a sundae without the cherry on top?)
Ingredient Notes & Substitutions
Don’t stress if you’re missing something – this pie is super flexible:
- Fudge sauce: Homemade is amazing, but I won’t judge if you grab a jar from the store. Hot fudge or thick chocolate syrup both work!
- Nut-free: Skip ’em or swap with rainbow sprinkles for that birthday party vibe.
- Crust alternatives: Graham cracker crust gives a s’mores twist, or go fancy with an Oreo crust.
- Dairy-free? Coconut cream whips up beautifully instead of heavy cream.
See? Told you this was easy. Now let’s get mixing!
How to Make Nostalgic Chocolate Fudge Sundae Pie
Okay, let’s make some magic happen! This comes together so fast you’ll think you forgot a step – but trust me, the simplicity is part of the charm. Here’s how we build those dreamy layers:
- Whip it good: In a chilled bowl (I pop mine in the freezer for 5 minutes first), beat the heavy cream, powdered sugar, and vanilla until stiff peaks form. You’ll know it’s ready when the whisk leaves clear tracks and the cream holds its shape when you lift it.
- First layer down: Spread half of that fluffy cloud of whipped cream over your cookie crust. I like using the back of a spoon to make little swoops – they’ll catch the fudge sauce beautifully.
- Fudge time: Warm your chocolate sauce slightly (15 seconds in the microwave does it) so it’s pourable but not hot. Drizzle half over the cream layer, letting some peek through in pretty ribbons.
- Repeat the magic: Add the remaining whipped cream, then finish with the rest of the fudge. This is where I get artistic – zigzags, swirls, whatever makes you happy!
- The grand finale: Sprinkle with nuts if using, then pop it in the fridge for at least 2 hours (4 is better). This chill time lets the flavors marry and the layers set perfectly.
When you’re ready to serve, top with extra whipped cream and cherries – the more retro, the better!
Tips for Perfect Layers
Want those picture-perfect layers? My secrets:
- Chill everything: Cold cream whips faster, and a chilled bowl helps prevent melting.
- Fudge control: If your sauce is too thick, thin it with a teaspoon of warm water for easier drizzling.
- Patience pays: Don’t rush the chilling! Those firm layers are worth the wait.
Serving Your Nostalgic Chocolate Fudge Sundae Pie
Oh honey, presentation is half the fun with this pie! I love slicing generous wedges and letting that fudge sauce ooze out just a little – it’s part of the charm. Top each piece with a fluffy dollop of whipped cream and that iconic maraschino cherry. For extra nostalgia, serve with a scoop of vanilla ice cream on the side (because why choose between pie and ice cream when you can have both?). Pro tip: Use warmed plates – the contrast of cold pie and warm china is pure diner magic!
Storing and Reheating
This pie keeps like a dream in the fridge – just cover it loosely with plastic wrap (press it right against the surface to prevent drying). It’ll stay fresh for up to 3 days, though in my house it never lasts that long! For longer storage, freeze whole or in slices for up to a month. Thaw overnight in the fridge – no reheating needed, just dive into that cool, creamy goodness.
Nutritional Information
Now, let’s be real – we’re not eating chocolate fudge pie for its health benefits! But because I know some folks like to keep track, here’s the deal: Each slice of this nostalgic treat packs about 320 calories (give or take depending on how generous you are with the fudge). The nutrition varies based on your specific ingredients and brands – especially with things like store-bought vs homemade fudge sauce or the type of nuts you use.
These are just friendly estimates per serving, okay? My philosophy? Life’s too short to stress over dessert numbers when you’re savoring something this delicious. Just enjoy every bite of that creamy, chocolatey nostalgia!
Questions About Nostalgic Chocolate Fudge Sundae Pie
Got questions? I’ve got answers! Here are the most common things folks ask about this dreamy dessert:
Can I use a graham cracker crust instead?
Absolutely! A graham cracker crust gives it a s’mores vibe that’s delicious. Just make sure it’s the same size (9-inch) so your layers stay balanced.
How long can it chill before serving?
The minimum is 2 hours, but overnight is even better! The flavors deepen and the layers set perfectly. Just cover it well so it doesn’t pick up fridge smells.
Can I make this dairy-free?
You bet! Swap the heavy cream for chilled coconut cream (just the thick part from the can) and use dairy-free fudge sauce. It whips up just as fluffy!
Why does my whipped cream get runny?
Two likely culprits: your cream wasn’t cold enough, or you overbeat it. Stop when you get stiff peaks – any further and it’ll start to separate.
Can I freeze leftovers?
Heck yes! Slice it first, then wrap pieces tightly. Thaw in the fridge overnight – the texture stays perfect!

Nostalgic Chocolate Fudge Sundae Pie: 15-Minute Blissful Dessert
- Total Time: 2 hours 15 minutes
- Yield: 8 servings 1x
- Diet: Vegetarian
Description
A rich chocolate fudge sundae pie with a nostalgic twist.
Ingredients
- 1 pre-made chocolate cookie crust
- 1 cup heavy cream
- 1/2 cup powdered sugar
- 1 tsp vanilla extract
- 1 cup chocolate fudge sauce
- 1/2 cup chopped nuts (optional)
- Whipped cream for topping
- Maraschino cherries for garnish
Instructions
- Whip the heavy cream, powdered sugar, and vanilla until stiff peaks form.
- Spread half of the whipped cream over the cookie crust.
- Drizzle half of the chocolate fudge sauce over the cream.
- Repeat layers with remaining whipped cream and fudge sauce.
- Sprinkle chopped nuts on top if desired.
- Chill for at least 2 hours before serving.
- Top with whipped cream and cherries before serving.
Notes
- Use store-bought or homemade fudge sauce.
- For a firmer texture, freeze for 30 minutes before serving.
- Substitute nuts with sprinkles for a nut-free option.
- Prep Time: 15 minutes
- Cook Time: 0 minutes
- Category: Dessert
- Method: No-Bake
- Cuisine: American
Nutrition
- Serving Size: 1 slice
- Calories: 320
- Sugar: 25g
- Sodium: 120mg
- Fat: 18g
- Saturated Fat: 9g
- Unsaturated Fat: 7g
- Trans Fat: 0g
- Carbohydrates: 35g
- Fiber: 2g
- Protein: 3g
- Cholesterol: 40mg


